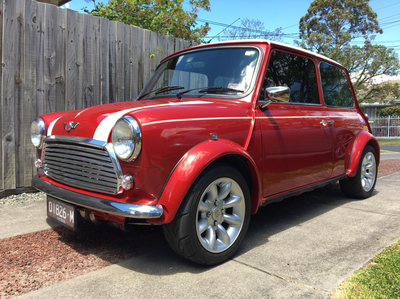
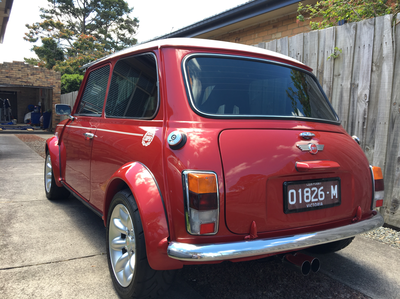
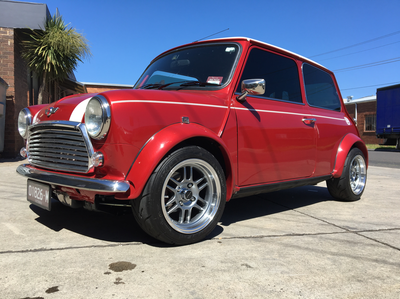
Vtec Project
Here we go again...............After breaking my leg in January I must have had too much time to think. (and buy)
While doing the original restoration back in 2010 I considered installing a Honda Vtec engine then but at the time there was a few things that made me go the other way.
1. Money & 2. Is it really a mini if it doesn't have a mini engine in it?? Many would say "no" and I guess I agreed.....till now.
I enjoyed driving it with the supercharger as it gave it that little more torque in the low end but in the back of my mind I still wanted more. More power.
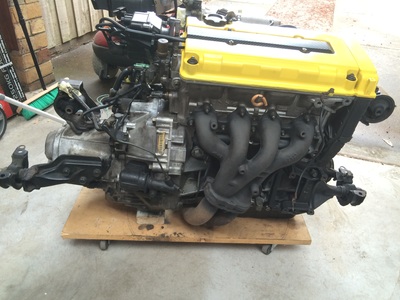
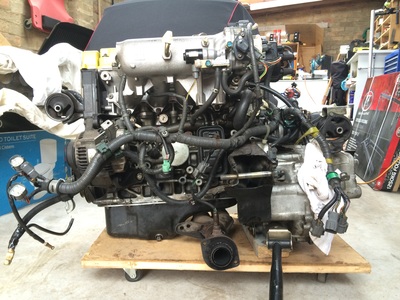
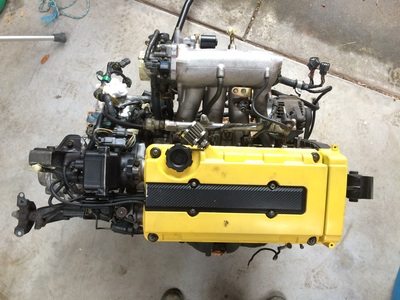
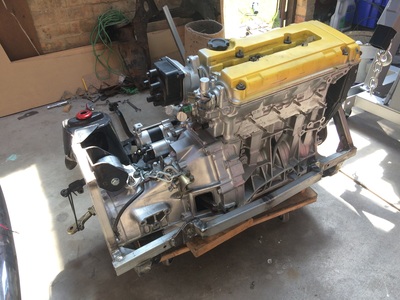
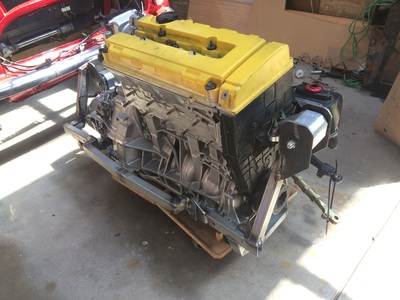
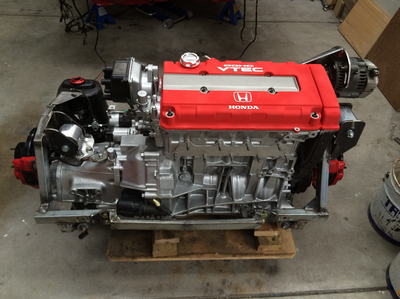
So on the 28th Feb I took the car with the motor in it for a test drive. It idles well and drove ok. The exhaust was half hanging off so it was hard to tell what the engine sounded like under load. A compression test was done and all cylinders showed 210 psi which I was happy with. Consistent and higher than 200. The owner pulled the engine out during the week and I picked it up the following Sunday.
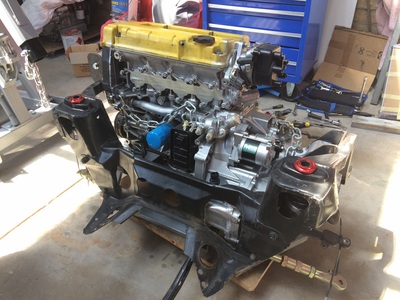
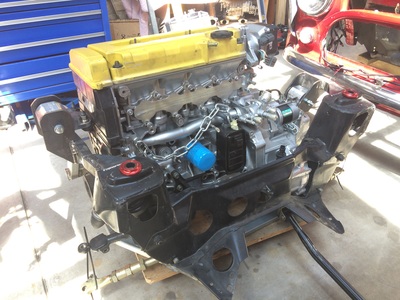
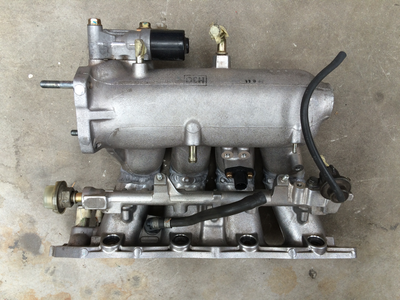
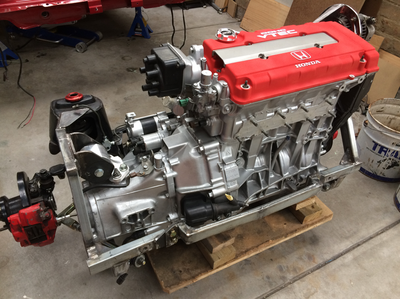
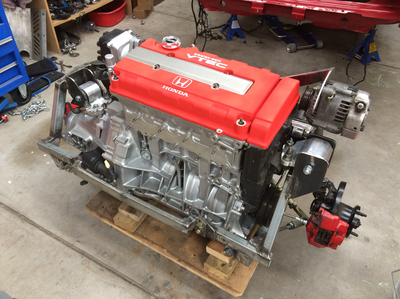
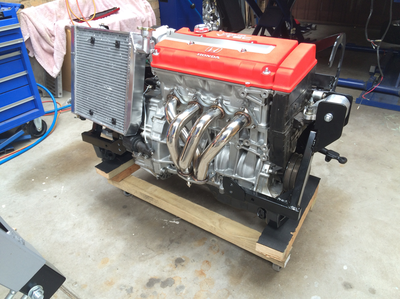
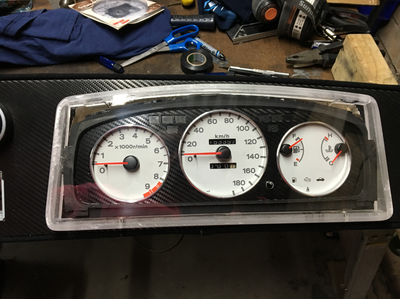
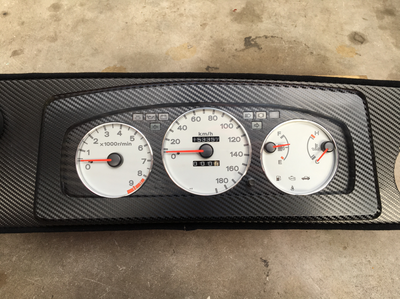
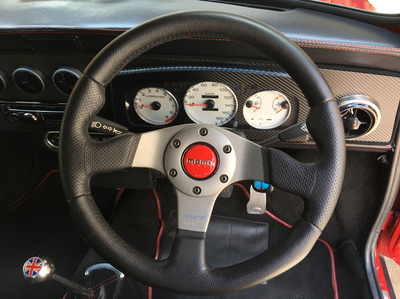
It came complete with everything Ineed including the 5 speed gearbox, inlet manifold, Starter motor, alternator distributor, ECU, engine wiring, drive shafts, gear lever and linkages and lots more. I also managed to buy the matching instrument cluster with white dials and a 8200 redline.
Specs:
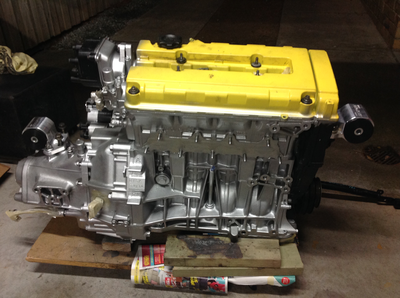
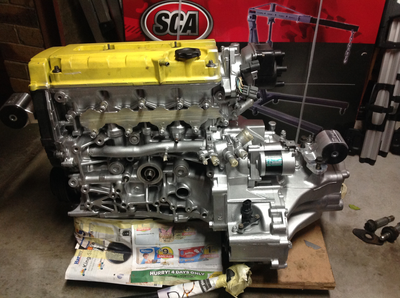
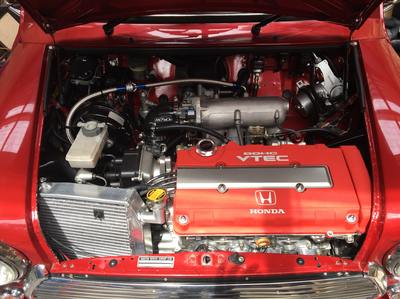
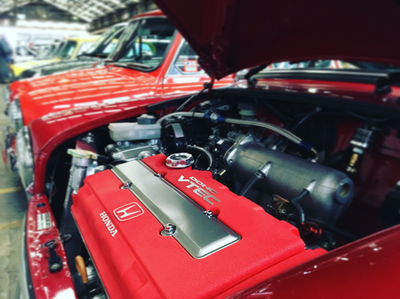
JDM Honda B16A 150,000kms
Specs from Wikipedia for a standard JDM B16A:
See below images
12/3/15
While doing the original restoration back in 2010 I considered installing a Honda Vtec engine then but at the time there was a few things that made me go the other way.
1. Money & 2. Is it really a mini if it doesn't have a mini engine in it?? Many would say "no" and I guess I agreed.....till now.
I enjoyed driving it with the supercharger as it gave it that little more torque in the low end but in the back of my mind I still wanted more. More power.
So on the 28th Feb I took the car with the motor in it for a test drive. It idles well and drove ok. The exhaust was half hanging off so it was hard to tell what the engine sounded like under load. A compression test was done and all cylinders showed 210 psi which I was happy with. Consistent and higher than 200. The owner pulled the engine out during the week and I picked it up the following Sunday.
It came complete with everything Ineed including the 5 speed gearbox, inlet manifold, Starter motor, alternator distributor, ECU, engine wiring, drive shafts, gear lever and linkages and lots more. I also managed to buy the matching instrument cluster with white dials and a 8200 redline.
Specs:
JDM Honda B16A 150,000kms
Specs from Wikipedia for a standard JDM B16A:
- Displacement: 1,595 cc (97.3 cu in) 1.6-liter
- Compression: 10.6:1
- Bore: 81.0 mm (3.2 in)
- Stroke: 77.4 mm (3.0 in)
- Rod Length: 134 mm (5.3 in)
- Rod/stroke ratio: 1.745
- Power: MT: 170 PS (125 kW; 168 hp) @ 8400 rpm & 16.0 kg·m (157 N·m; 116 lb·ft) @ 7200 rpm
- VTEC engagement: 5500 rpm
- Redline: 8200 rpm (AT: 7900 rpm )
- 5 spd Transmission
- ECU code: P30 (EG2/EG6/EG8/EG9), PR3 (DA6)
- OBD1
See below images
12/3/15
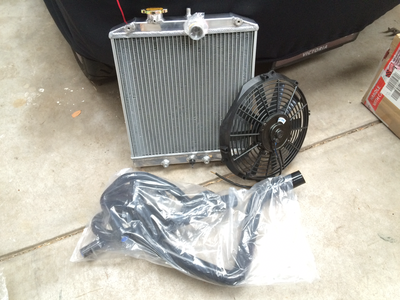
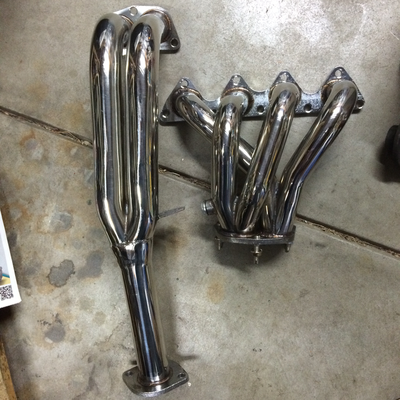
A few parts purchased over the last 6 months to keep me motivated
Cleaned and painted.
July 2015
July 2015
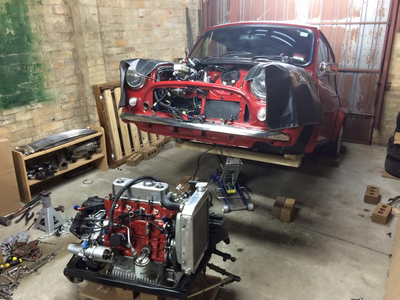
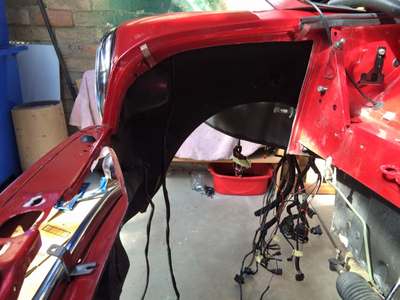
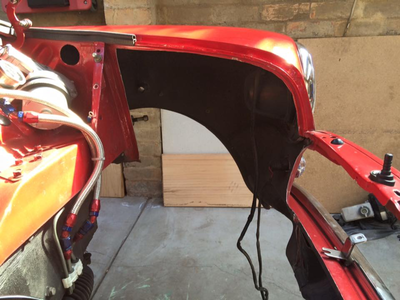
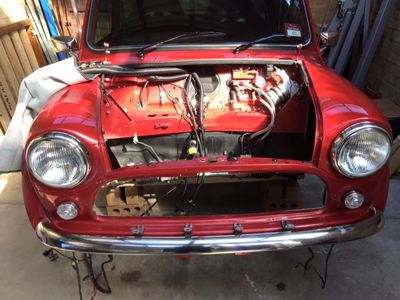
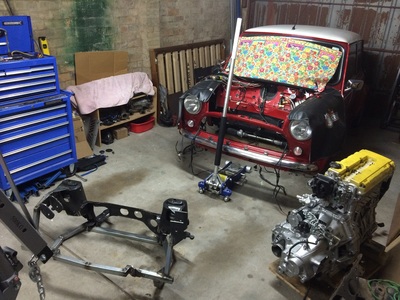
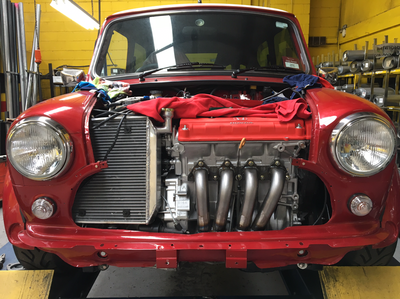
Engine is out, inner guards cut out, front panel cut out too.
5/9/15
5/9/15
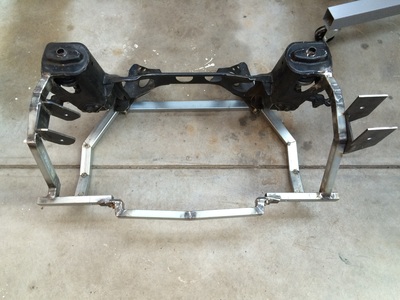
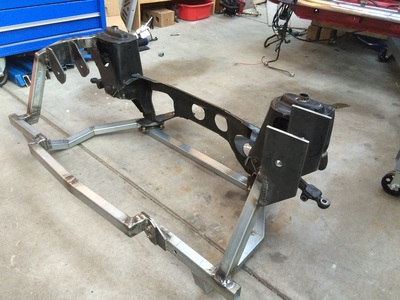
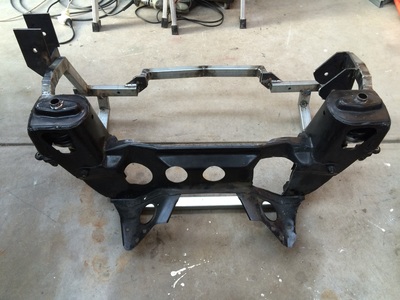
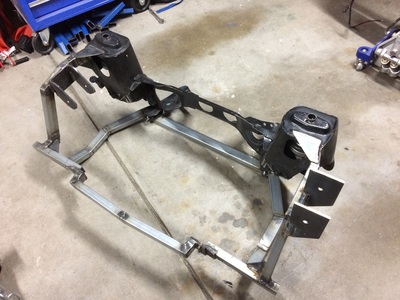
A month later an a bit has been done. I took a week off work to get the majority of the subframe built and tacked together ready for welding. This saved me a good few months of weekend work.
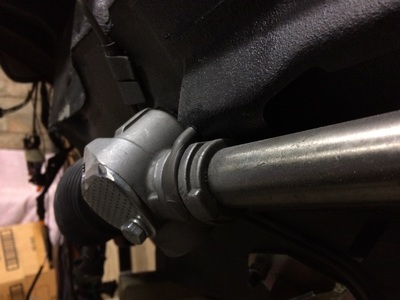
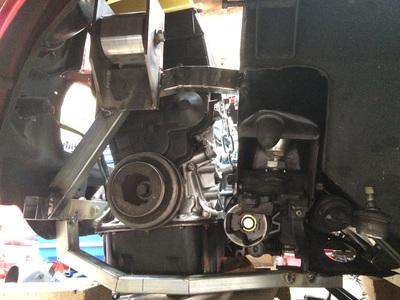
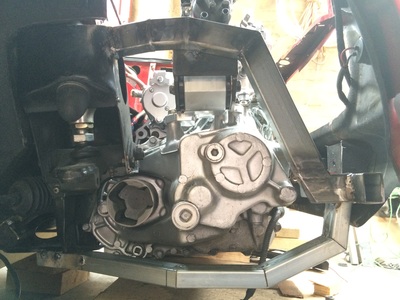
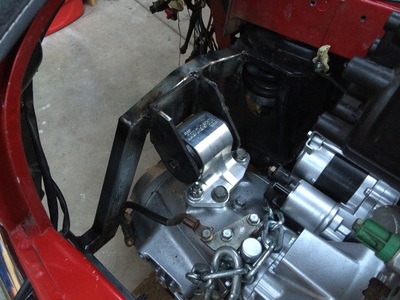
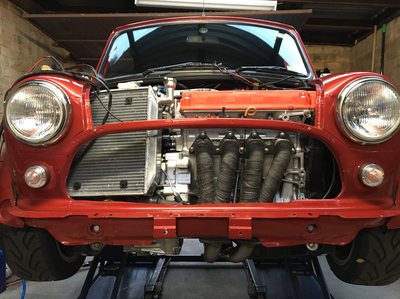
As it sits now I have the engine mounted in place with minimal clearances. Being a RHD mini the steering rack was sitting too far out so some grinding had to be done. (Every mm counts with this build) It still meant the engine sits forward a bit more than I would like but that's life. There is now little room for the exhaust manifold. I'll deal with that when the time comes.
7/10/15
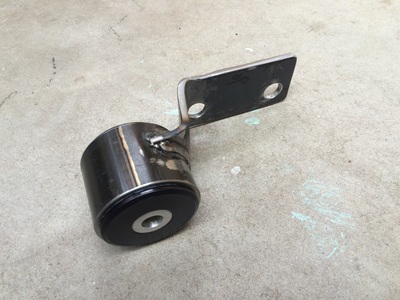
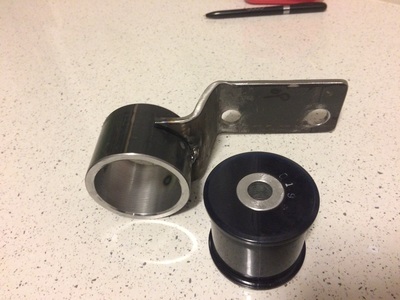
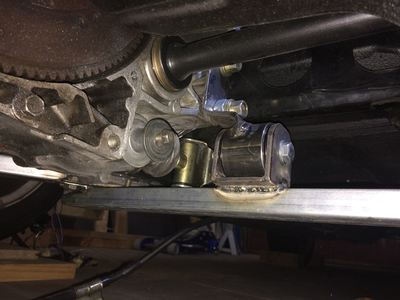
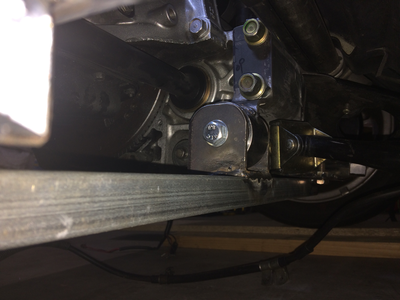
Rear engine mount made and bush pressed in.
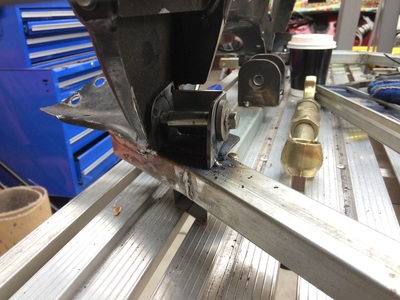
Attaching bracket on subframe tacked in
Lower control arm mounts made and also tacked in
Gussets welded in
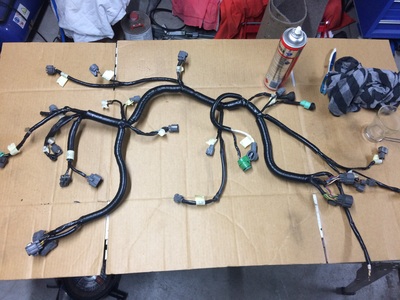
Wiring cleaned up and re taped
25/10/2015
Attaching bracket on subframe tacked in
Lower control arm mounts made and also tacked in
Gussets welded in
Wiring cleaned up and re taped
25/10/2015
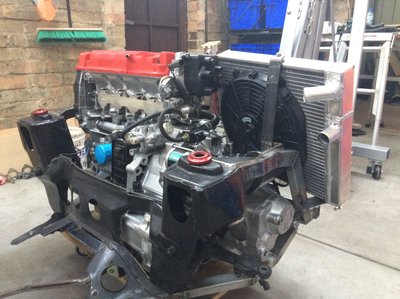
Some "Engine in Subframe" pics
She is back on four legs...for the minute.
Castor mounting brackets done, rear engine torque mount done. engine in
Castor mounting brackets done, rear engine torque mount done. engine in
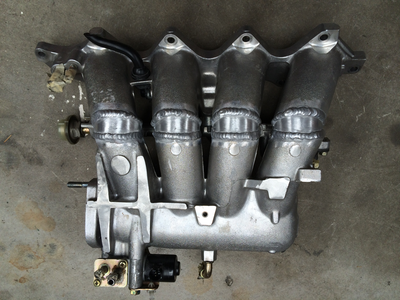
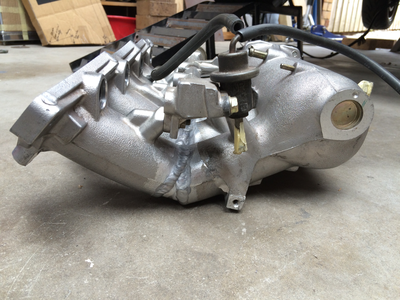
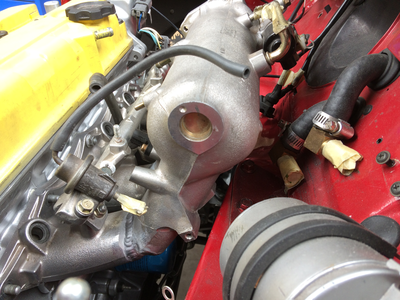
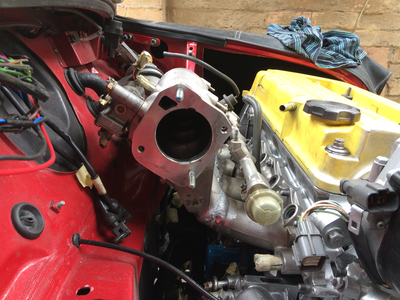
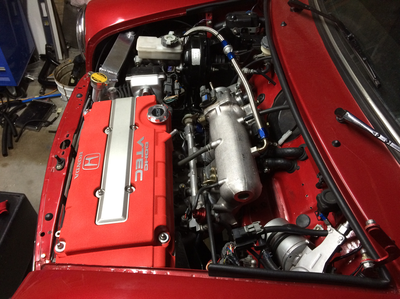
I cut the inlet manifold, bent it up and had some small wedges welded in. The welder even cleaned up the inside of each runner for good air flow. It has good clearance from the bulkhead and easy to remove too.
29/11/15
29/11/15
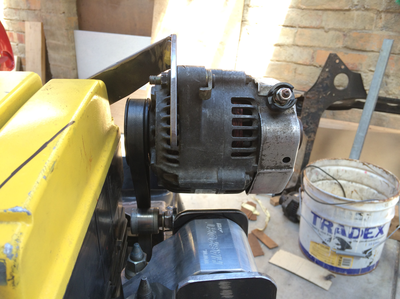
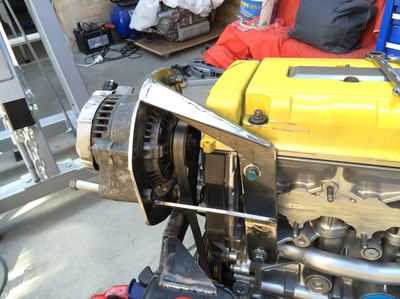
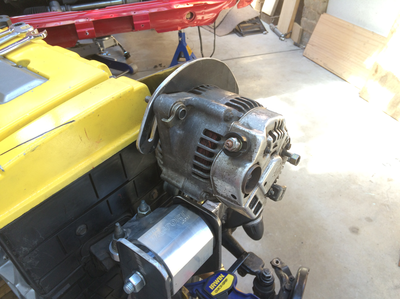
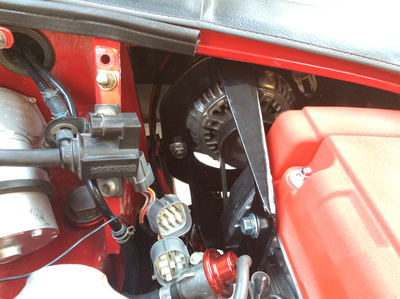
Alternator bracket done.
24/12/15
24/12/15
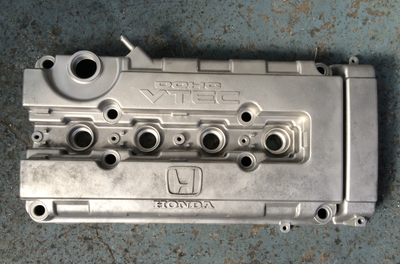
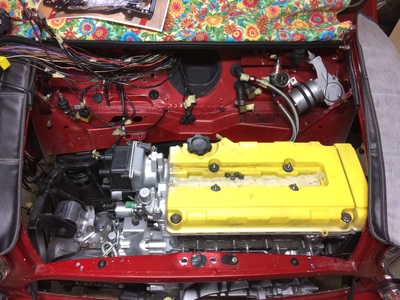
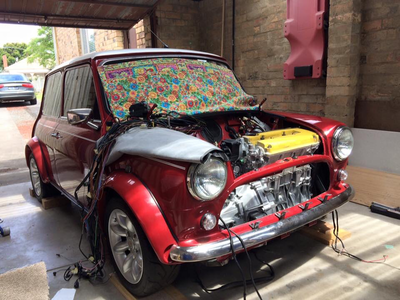
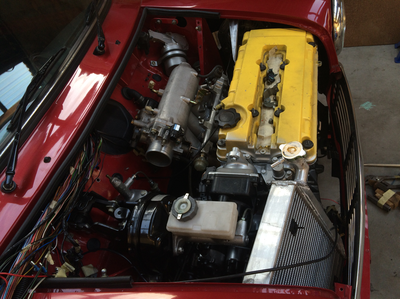
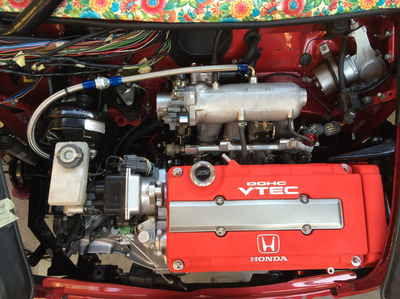
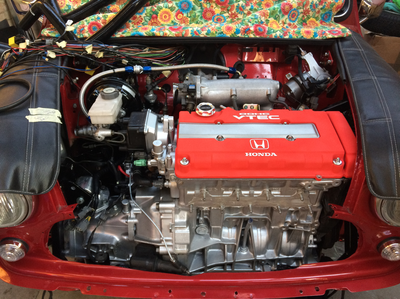
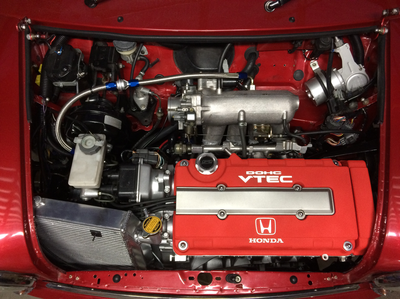
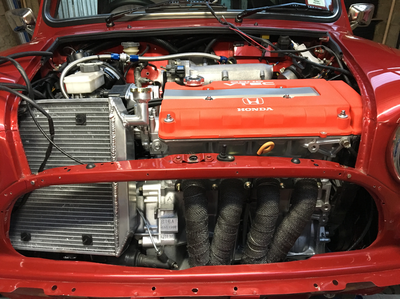
Out with the yellow and in with the red. A previous pic at the top of the page shows when I blasted the paint off the rocker cover. I finally decided to paint it.
27/12/15
27/12/15
I moved over to the clutch master cylinder tonight.
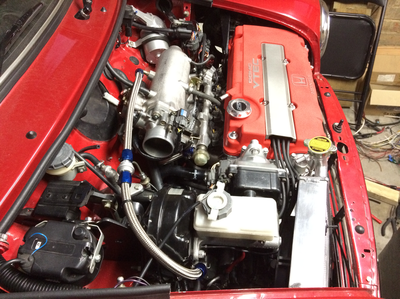
This one came out of a 95 civic. I made a 38mm high mount which came up quite well. A coat of paint makes it even better.
The pedal seems fits well and doesn't seem to over throw either. It will be another one of those things to be tested when it is running.
7/1/16
This one came out of a 95 civic. I made a 38mm high mount which came up quite well. A coat of paint makes it even better.
The pedal seems fits well and doesn't seem to over throw either. It will be another one of those things to be tested when it is running.
7/1/16
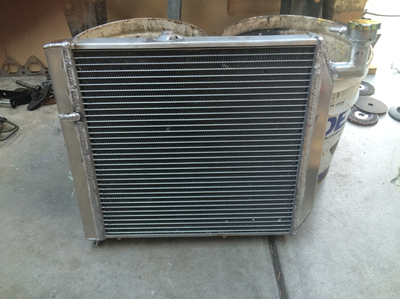
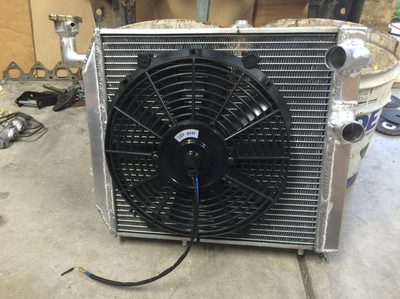
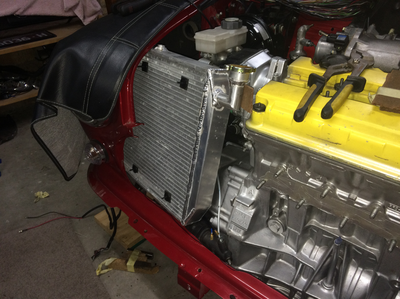
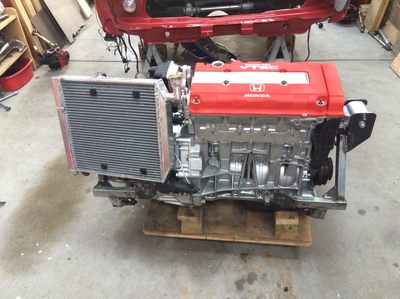
I had to get the Civic radiator modified to fit. It seemed to come up ok and fits well.
I kept the yellow rocker cover on to keep the red one from getting damaged.
31/1/16
I kept the yellow rocker cover on to keep the red one from getting damaged.
31/1/16
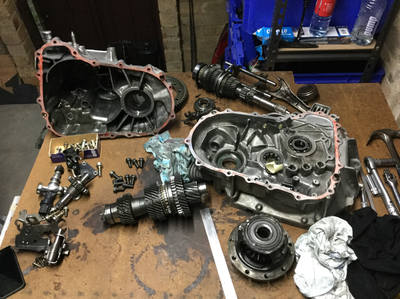
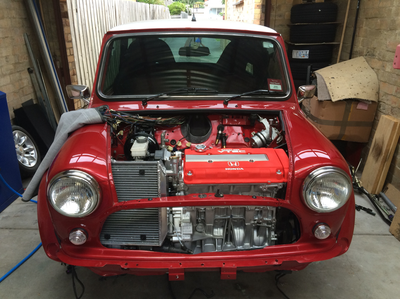
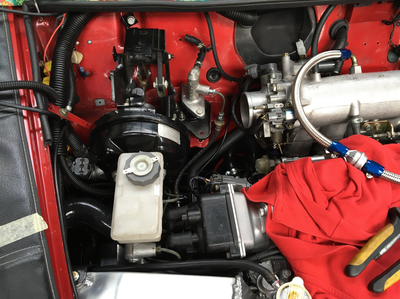
Now that it all seems to fit under the bonnet, I have stripped it all out hopefully for the last time.
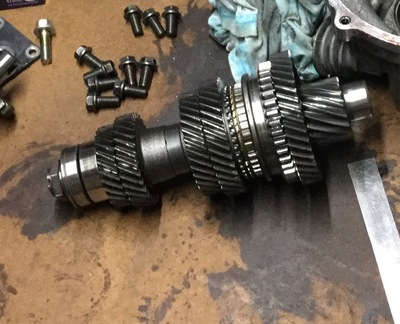
Gearbox removed.
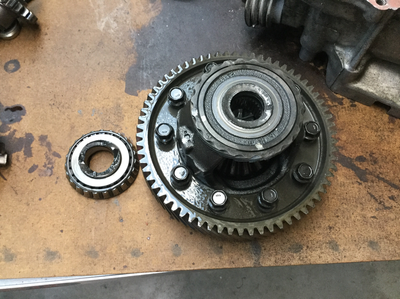
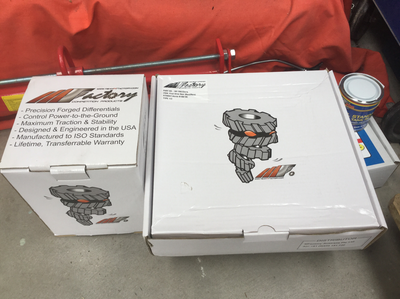
Diff removed. It was completely stuffed. MFactory LSD and 4.05 final drive ordered.
14/2/16
Gearbox removed.
Diff removed. It was completely stuffed. MFactory LSD and 4.05 final drive ordered.
14/2/16
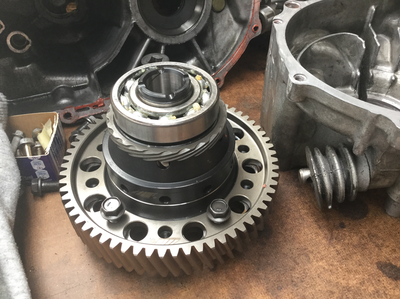
Mfactory LSD diff and final drive arrived. New diff bearings came with it too.
Installing the bearings was as simple as heating them up with a heat gun till they started to smoke a little (this expands the bearing) then just dropped them onto the diff. No press required.
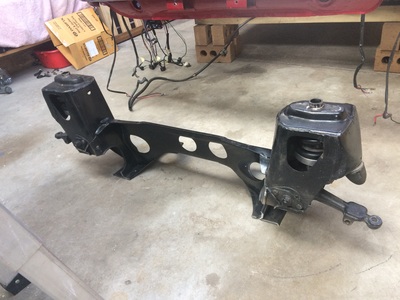
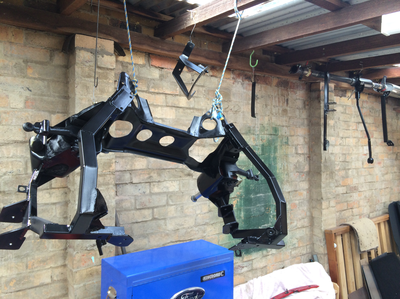
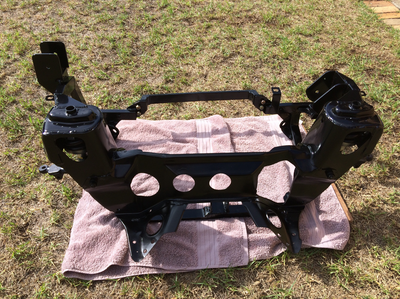
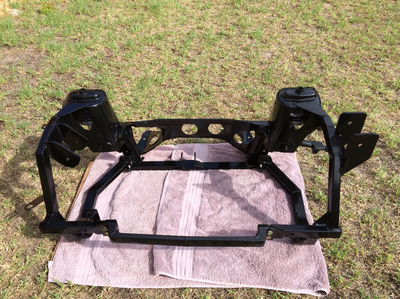
I also painted the subframe and its components. Looks pretty good I think.
Installing the bearings was as simple as heating them up with a heat gun till they started to smoke a little (this expands the bearing) then just dropped them onto the diff. No press required.
I also painted the subframe and its components. Looks pretty good I think.
It's been a couple of months since my last update. Plenty of things have been done but it's all small stuff that you don't see from the outside.
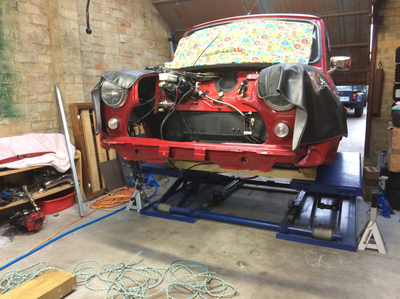
Subframe all painted. Even bought myself a scissor hoist to make like Easier. Best investment ever.
Subframe all painted. Even bought myself a scissor hoist to make like Easier. Best investment ever.
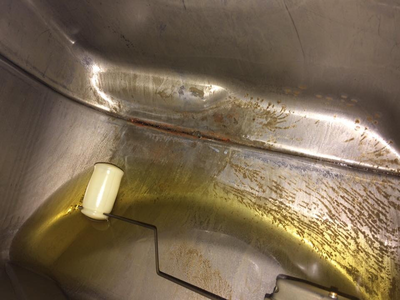
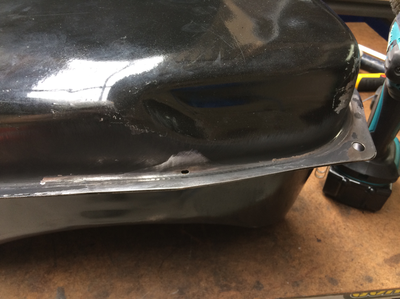
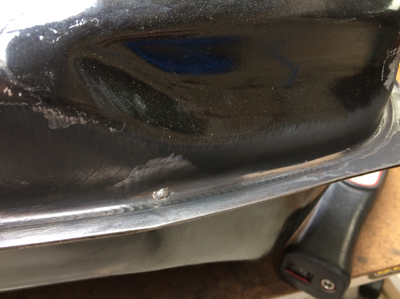
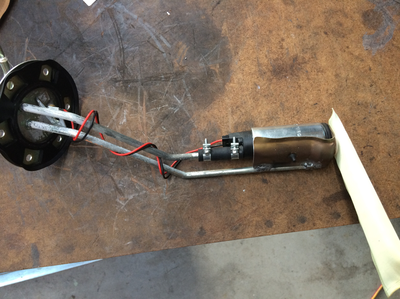
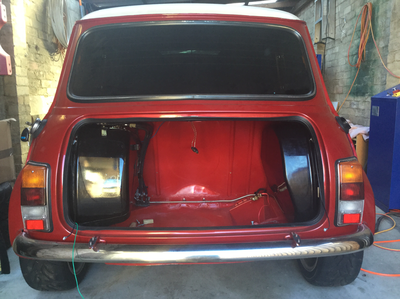
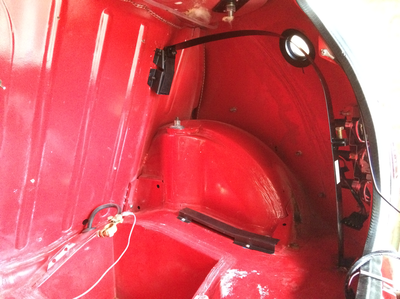
I have to put a bigger fuel pump in so I pull the fuel tank out only to find it has a slight leak. After running the wire wheel over the hole it got a bit bigger than expected. Luckily enough to it could be soldered. A fuel tank sealer kit was then used to ensure the rest of the tank was good for a few more years.
Seeing as though he LH tank only holds 26 odd litres I thought I would add another 20 litres to the RH side.
21/4/16
Seeing as though he LH tank only holds 26 odd litres I thought I would add another 20 litres to the RH side.
21/4/16
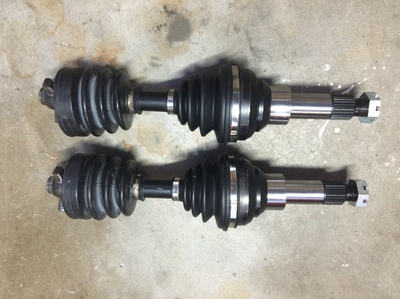
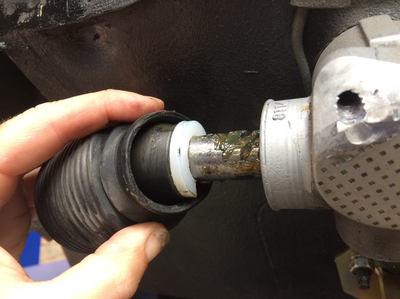
To be on the safe side I ordered the Allspeed HD driveshafts and outer CV joints. Putting them together was a bit painful as they needed cleaning up and paint removal to make them fit. Got it sorted in the end.
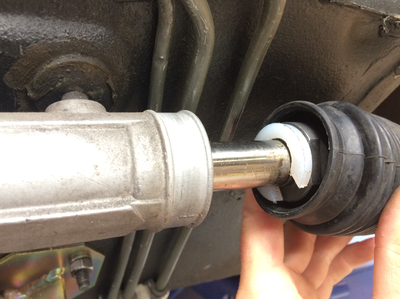
I also made up two steering rack limiters out of plastic to stop the wheels hitting the engine at full lock.
I also made up two steering rack limiters out of plastic to stop the wheels hitting the engine at full lock.
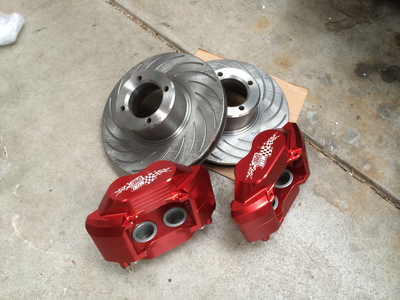
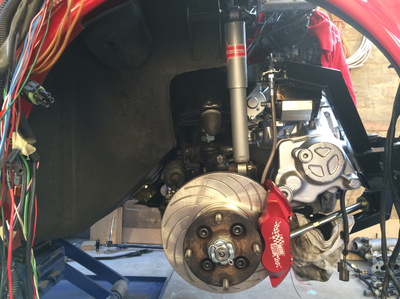
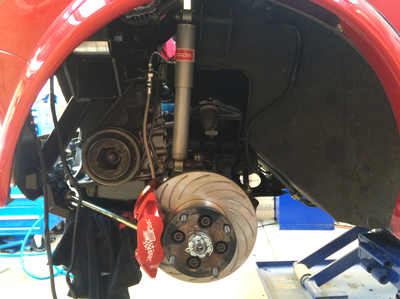
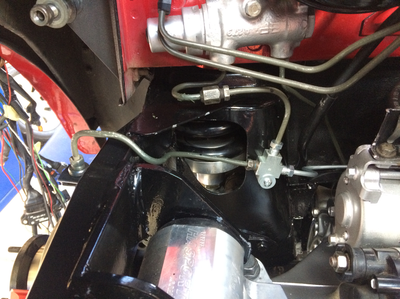
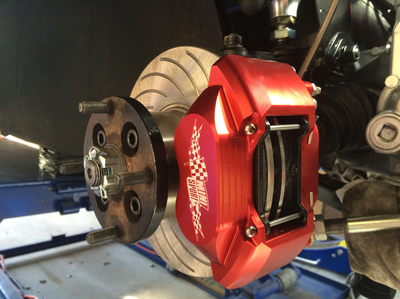
The engine went back in hopefully for the last time. The new Minisport brake calipers and vented discs now assembled and installed along with the driveshafts and suspension. Braided hoses also installed.
24/4/16
24/4/16
Inlet manifold, alternator, engine harness wiring and a few other bits done too.
24/4/16
24/4/16
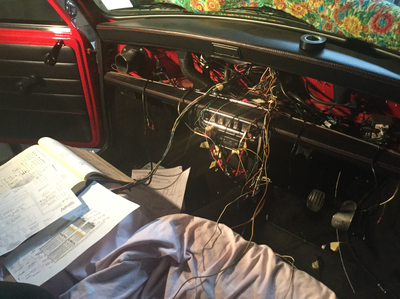
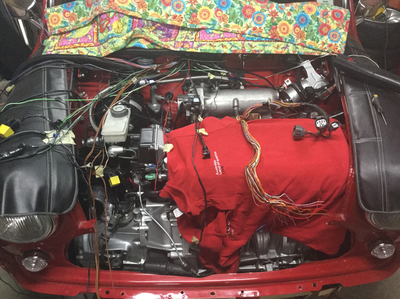
The fun part has begun. Merging the Honda engine harness and sensors with the Autronic ECU and mini harness. Three different wiring diagrams and a lot of patience.
So far I have managed to get all the wires and plug pins noted down on a spreadsheet to make it easier to pin in. I am going to pin all the wires into 3 plugs behind the dash to make it more user friendly if it ever needs to be removed or modified. The spread sheet has taken a long time to put together but will be worth it.
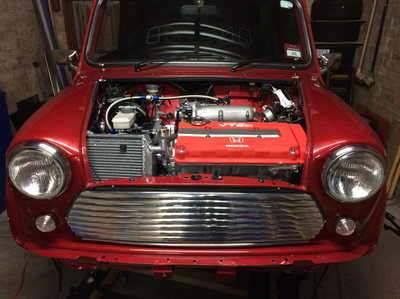
some photos of the mess below and then with it all tucked away in the engine bay. Even put the grill back on to see how it all looks. Exhaust still needs to be made so it will all come back off soon.
1/5/16
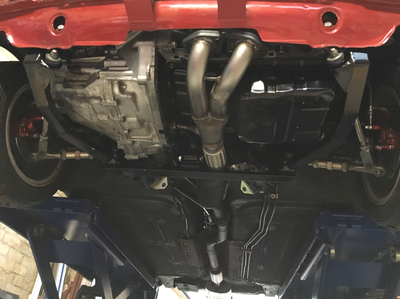
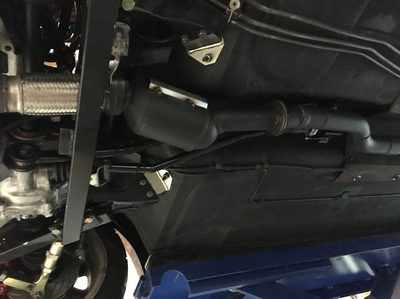
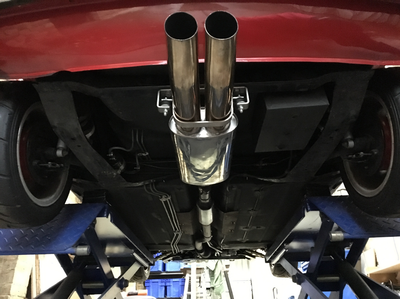
As my engine was so far forward I had to get the exhaust custom made from headers right through. Garry & Dave from TruFit Exhaust in Moorabbin (Vic) were extremely helpful and well priced too. When I picked up my car there was a nice blue Vtec Moke getting an exhaust done too. Who would have thought.
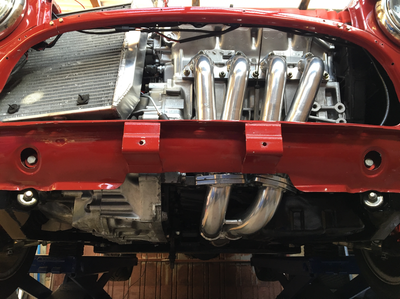
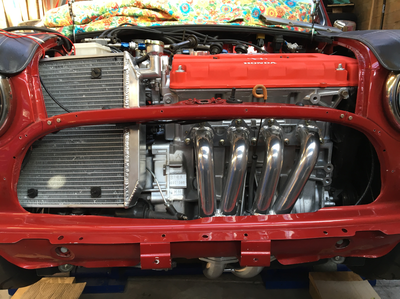
The headers were made in two pieces to allow for easy removal. I also had them wrapped to protect the front grille and paintwork from the heat.
It then flows to a collector with 02 sensor, Flexi joint, custom cat, resonator then to the straight through Playmini muffler. I'm looking forward to hearing it when it's up and running.
22/6/16
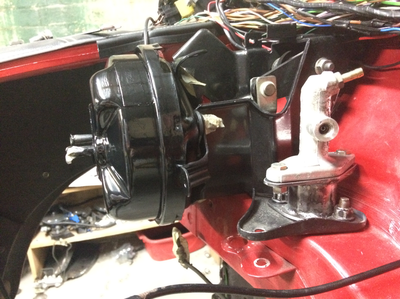
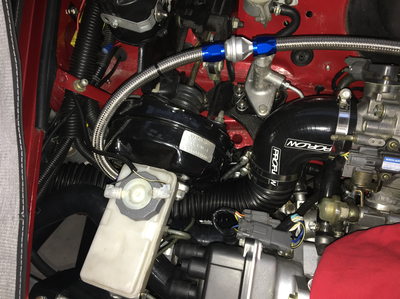
After having to remove the exhaust headers I quickly learnt that I don't like fibreglass heat wrap. So they got sent away for ceramic coating. They turned out real nice. I also had to modify the brake booster to turn it a bit to get it away from the distributor cap. Much better now.
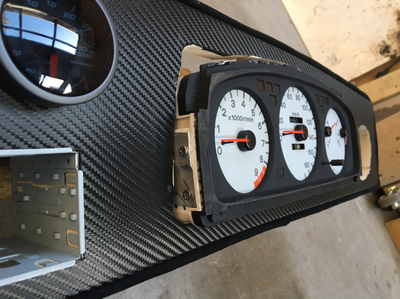
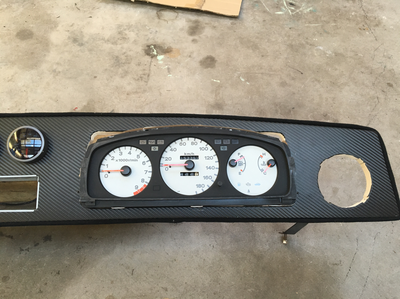
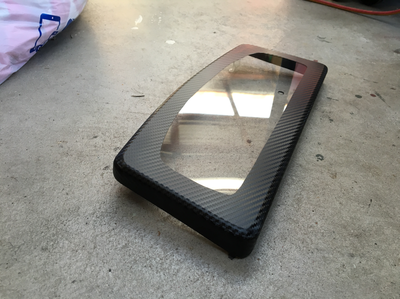
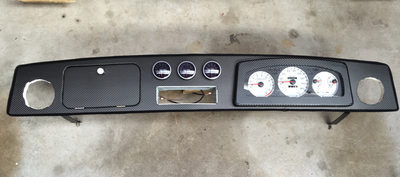
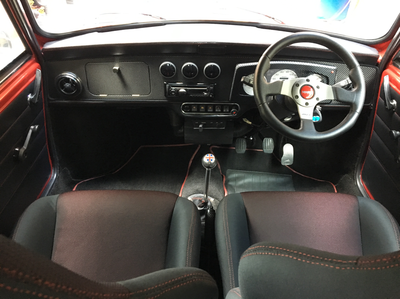
While the exhaust was getting done I finished modifying the dashboard to take the Honda cluster. Carbon fibre wrapped too.
21/7/16
While the exhaust was getting done I finished modifying the dashboard to take the Honda cluster. Carbon fibre wrapped too.
21/7/16
On the 22/7/2106 it ran. It took a bit of playing around with the ECU but got there in the end.
smiles all round.
smiles all round.
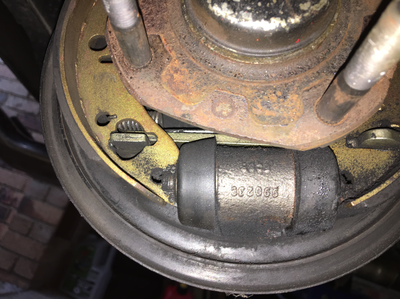
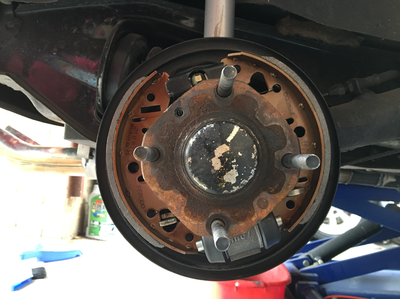
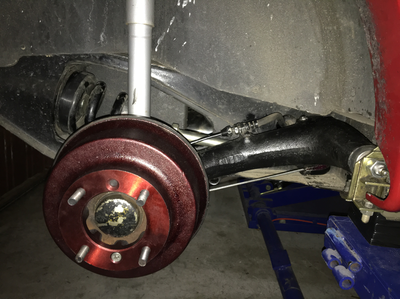
I went to bleed the brakes only to find the rears wouldn't bleed. The Rear cylinders where shot and the shoes had brake fluid on them so I ended up replacing the cylinders, shoes and drum. Why not do it all.
the annoying part was still to come. The passenger side rear arm had some movement when I went to refit the drums. This was not good. Ended up with a siezed suspension arm bearing and the pin was worn to.
As I like to do, I replaced put in new bearings, sleeves and pins. No movement now. Should last for many years now and the good part is I have new brakes on all four corners. A bit of paint on the drums to stop the rust while I was at it.
10/8/16
Im now getting to the pointy end of the build now.
Greased up the suspension and ball joints.
The clutch pedal travels a bit too far so I had to add a block of rubber to the back of the pedal as a temporary measure till I can come up with a solution.
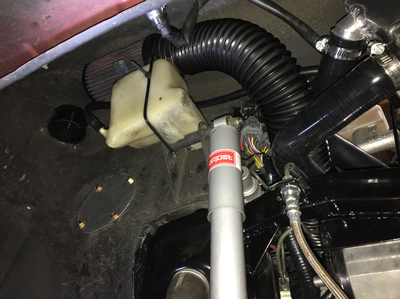
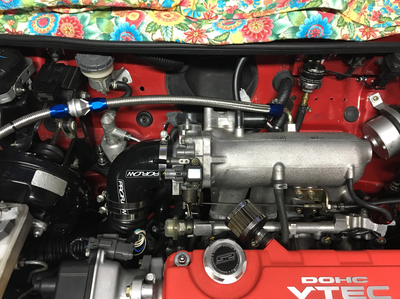
A 70-63mm reducer elbow, some 2 1/2" alloy tubing and some 63mm flexible tubing made up the Air intake. It was a tight squeeze but I got it in. The K&N filter needs a clean and re-oil.
14/8/16
After a few adjustments of the suspension and putting the dashboard back in I was able to get it on the road for the first time to test it out. I'm happy to say there were no noises or loud bangs. I didn't go to hard on the accelerator as the ECU still needs to be tuned properly. There was a massive sigh of relief along with a far bit of excitement.
20/8/2016
20/8/2016
I managed to get it all back together with everything fitting well. No rubbing or interference that I can see.
3/9/16
3/9/16
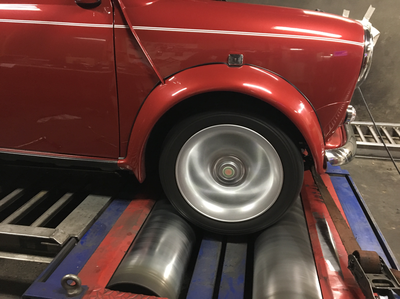
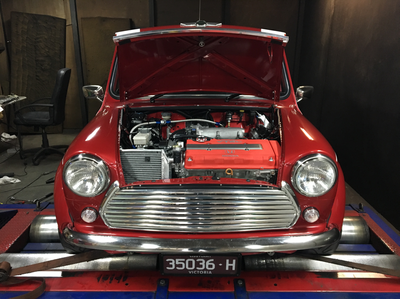
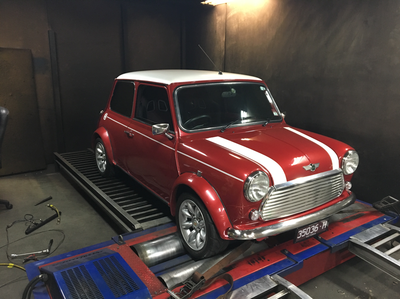
Time to tune the ECU properly for everyday driving. Errol from EFI Dynamics in Lilydale did a great job getting the timing and fuel management right.
Dutchys mini with a Honda B16A @ 8200 RPMs 😀
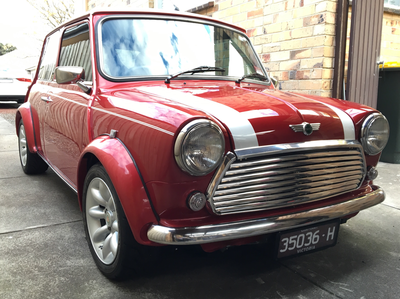
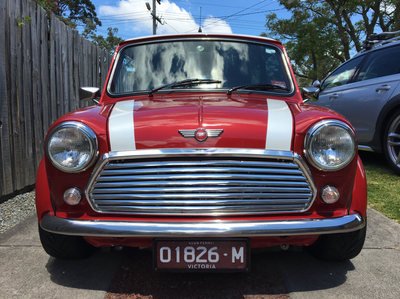
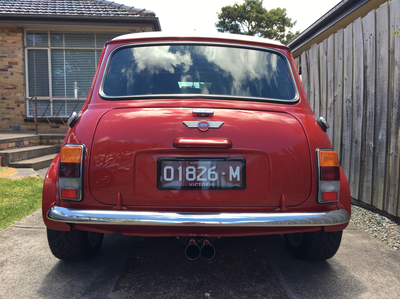
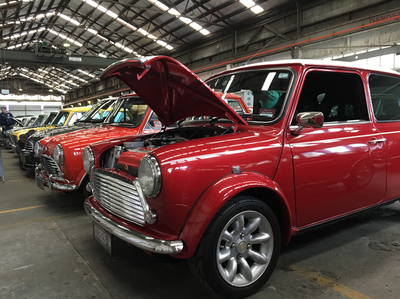
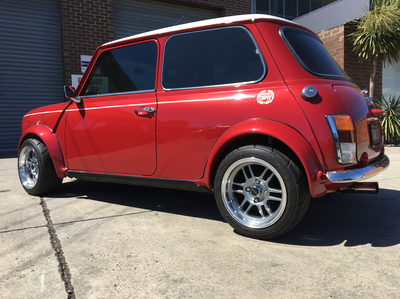
Project finished just in time for the mini show in a Melbourne. It is now engineeed and registered with M plates.
Very happy with the result.
12/11/16
Very happy with the result.
12/11/16
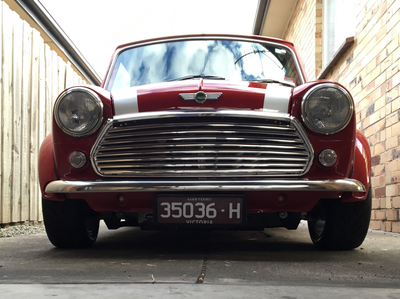
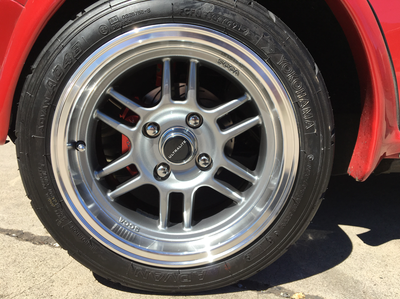
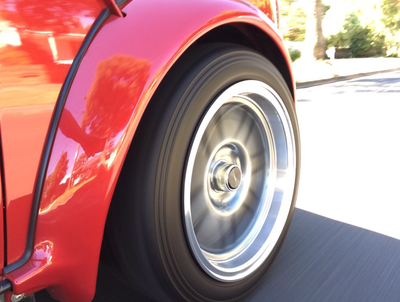
New 13"x7 Enki F1 style wheels were needed to fill out the arches. I have previously tried minilites 13x7's but these stuck out too far for my liking. These have a better offset so fit perfectly. I also love the anthracite colour and styling as it is different to the usual.
