Seats, Panels, Suspension, Steering
04/10/20
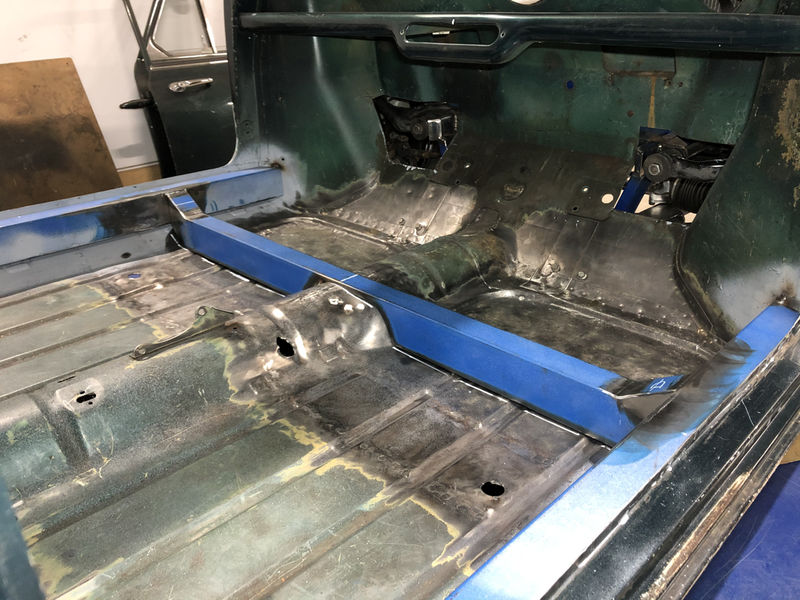
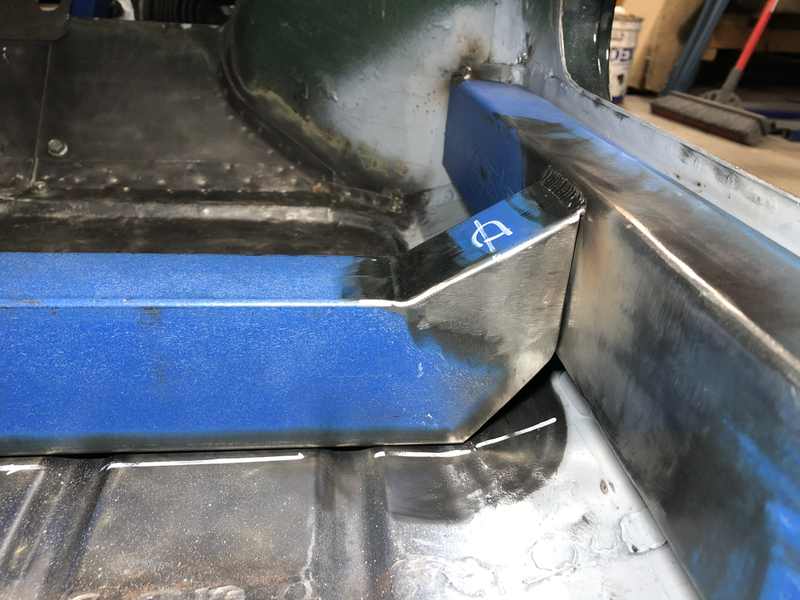
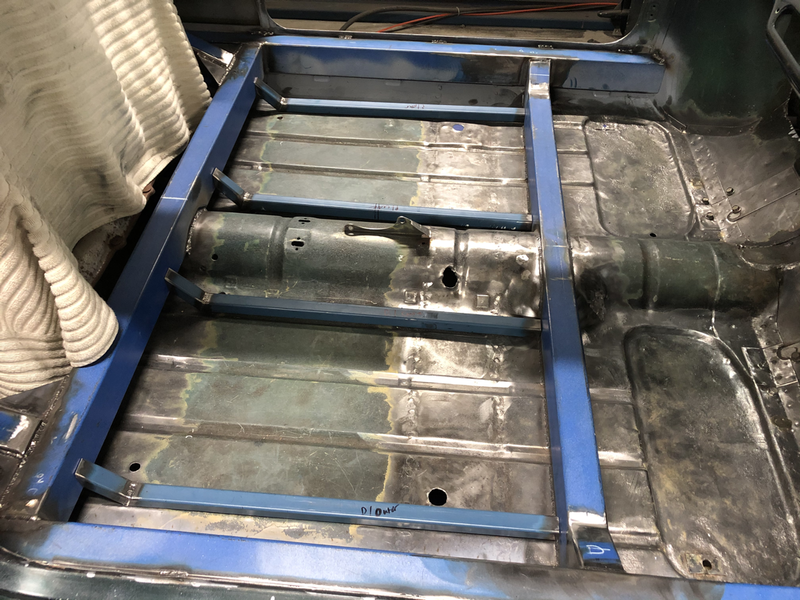
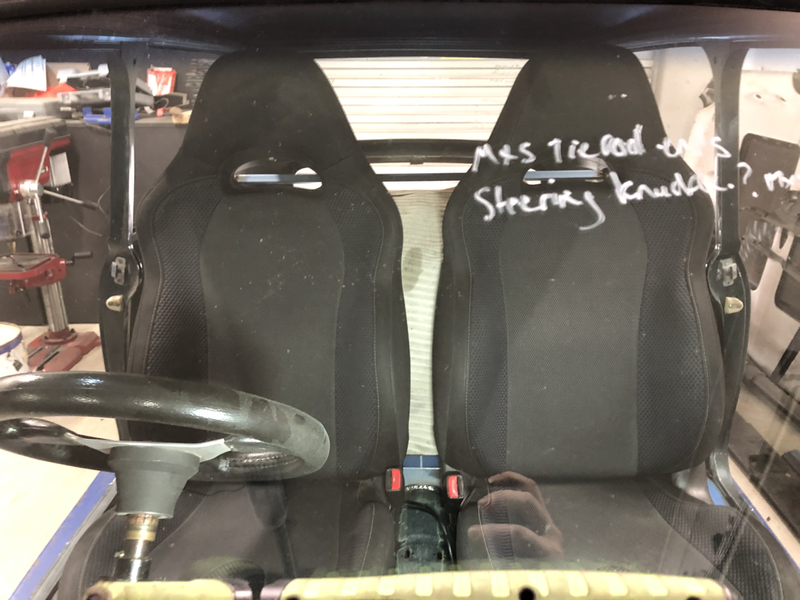
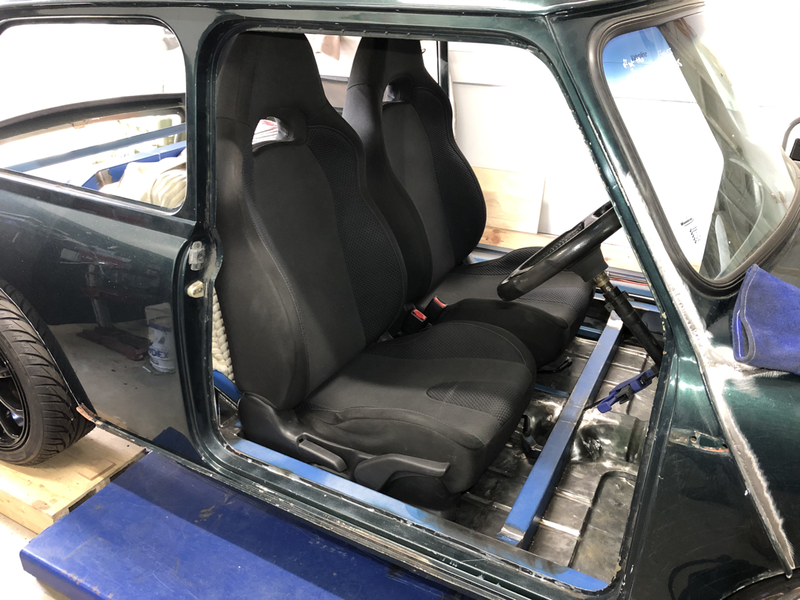
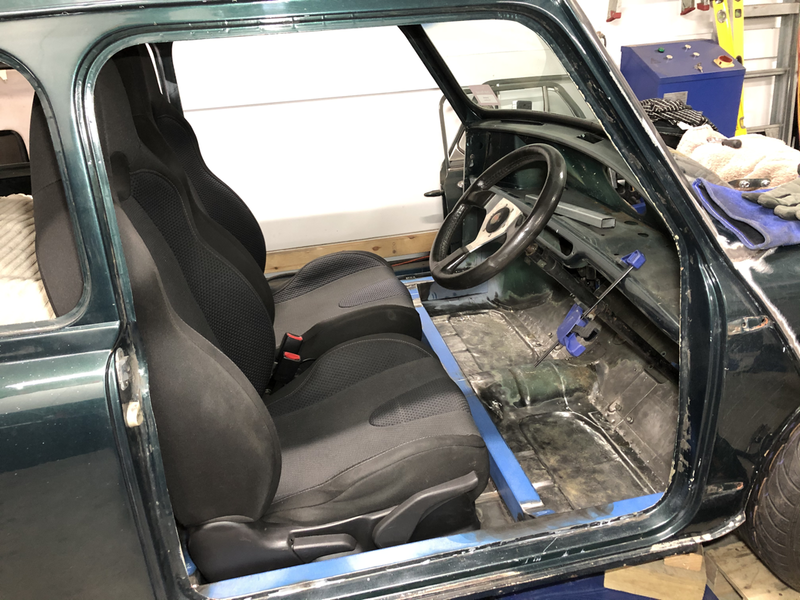
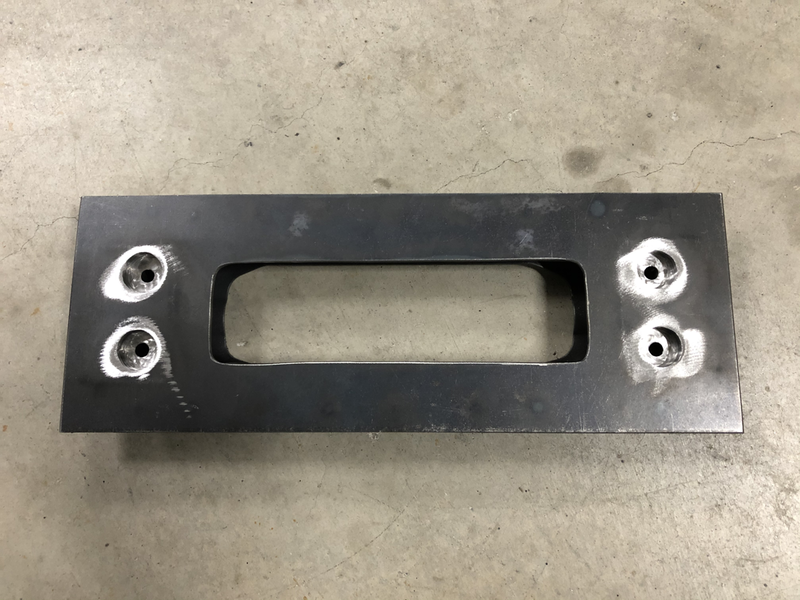
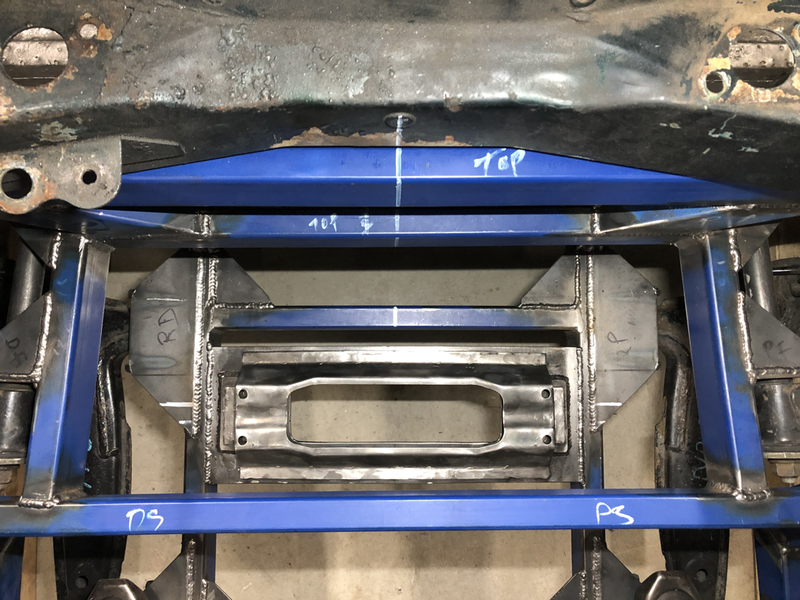
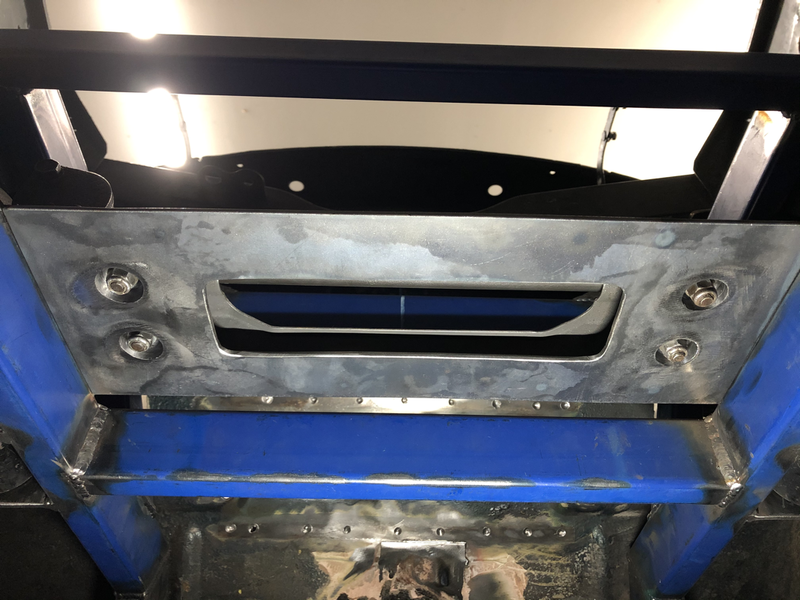
The seats were next to be installed. The front cross member had to be cut out and moved forward to allow the seats to slide back and forth. While it’s only a little it will help with bolting the seats down and gaining access to the front of the engine if required.
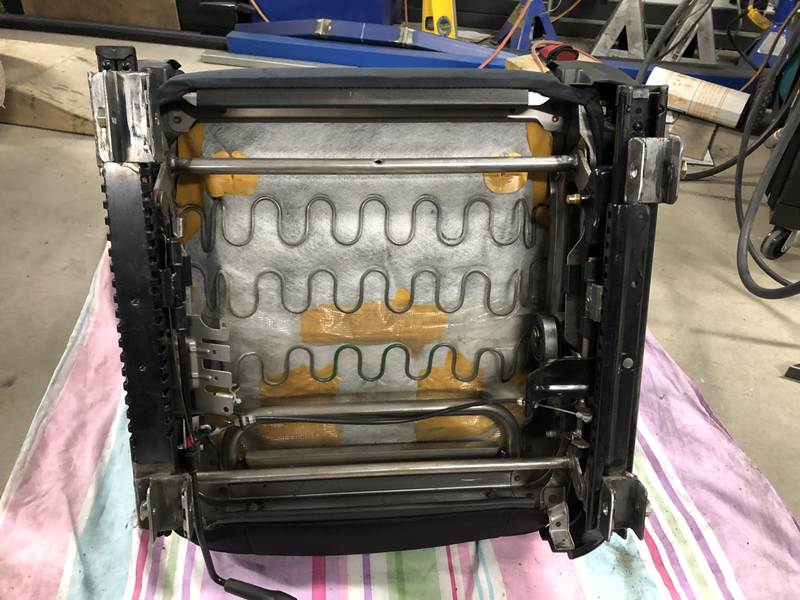
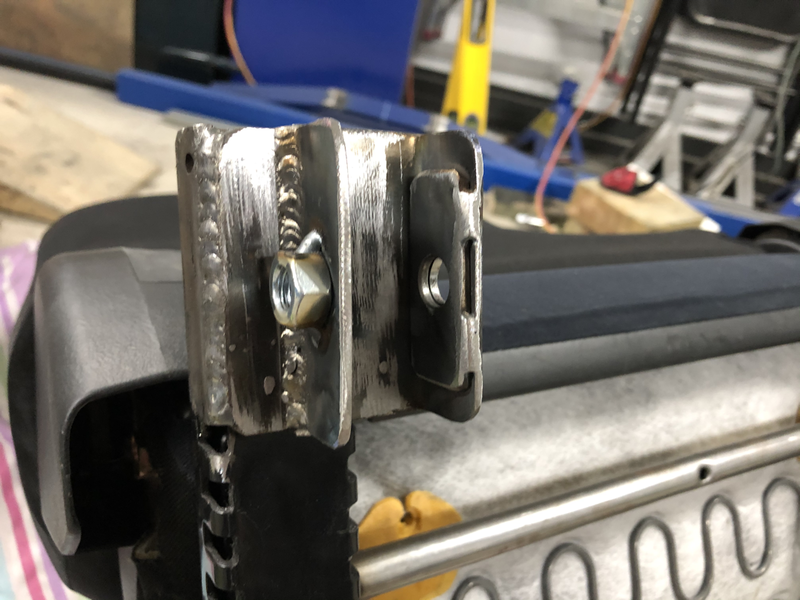
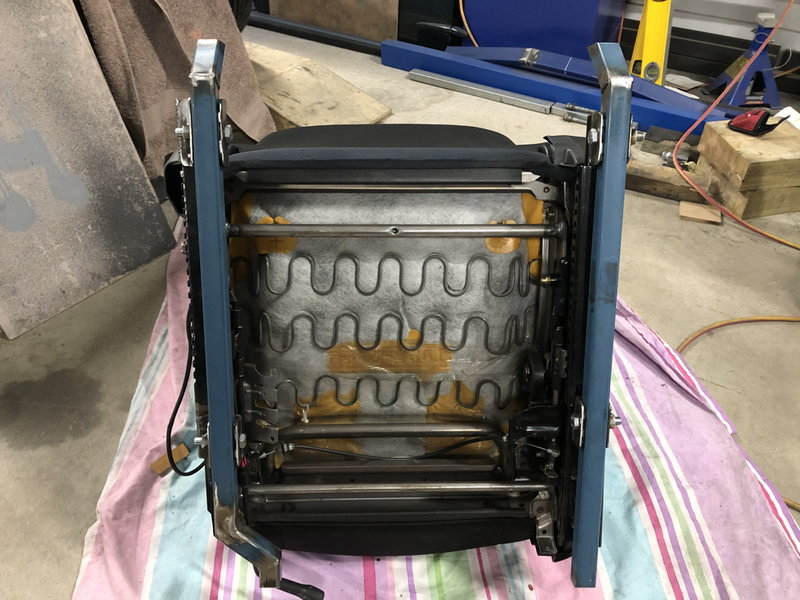
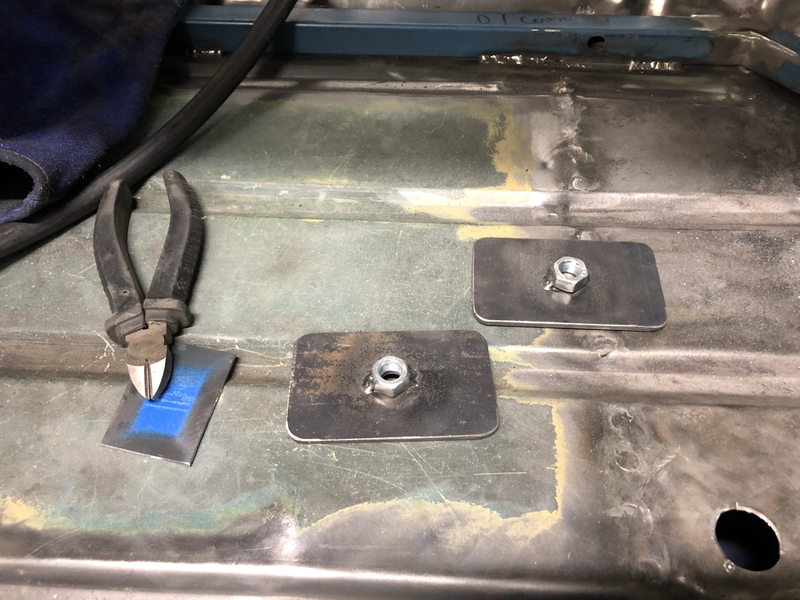
The original mounting brackets on the seat rails were cut off and new ones made to fit over what looks like another rail. These were also made to assist with strengthening the floor.
New retractable seat belts were ordered and brackets also mounted.
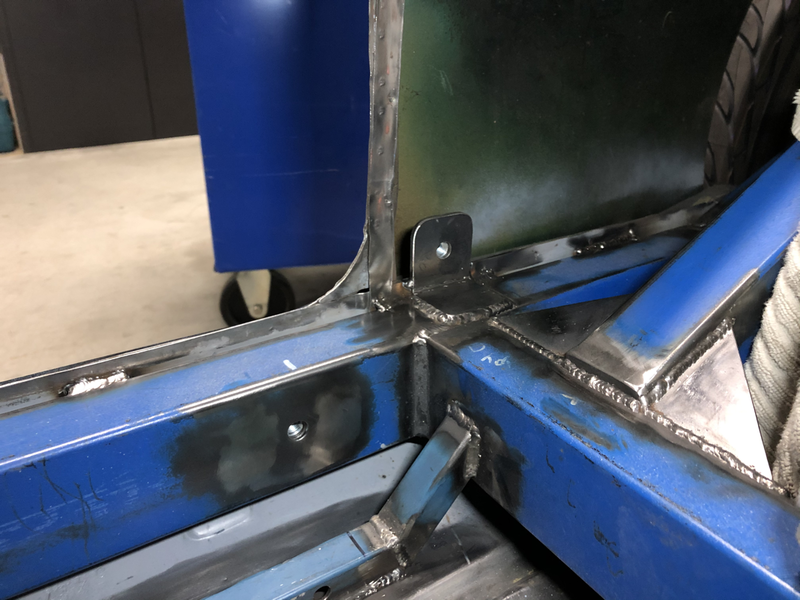
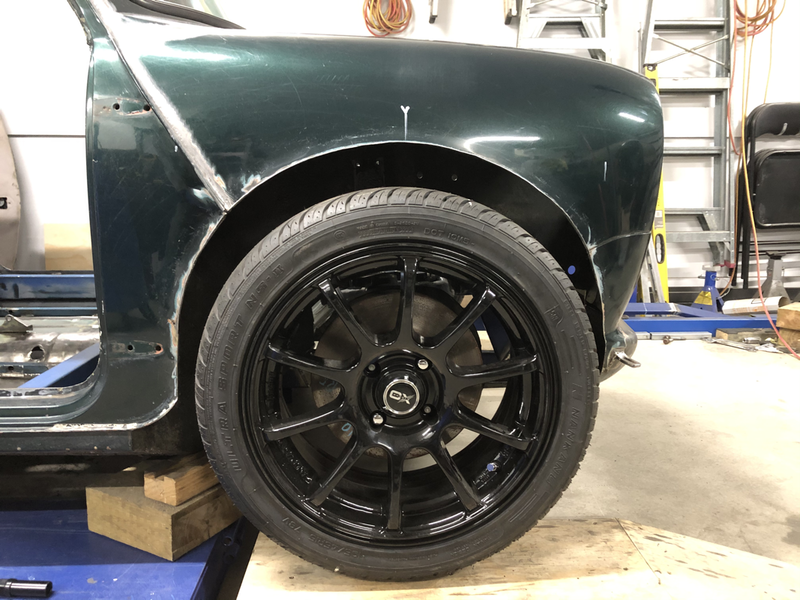
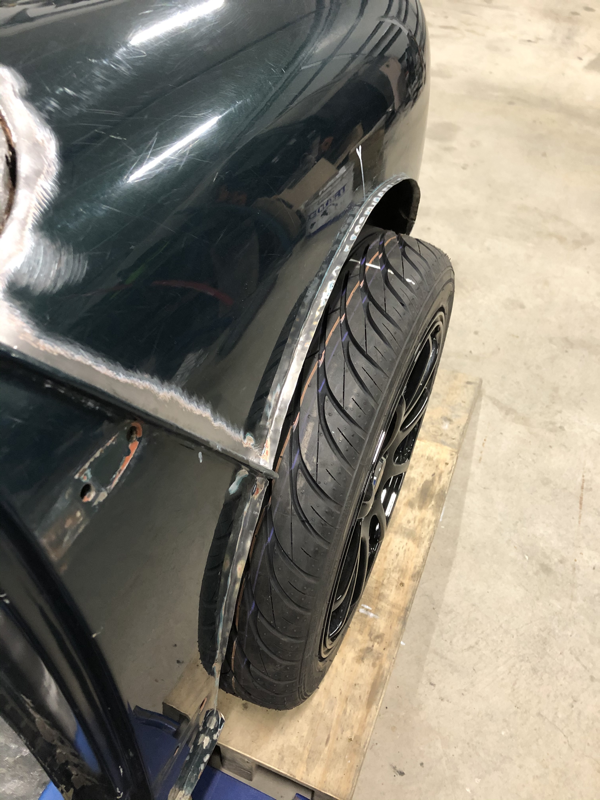
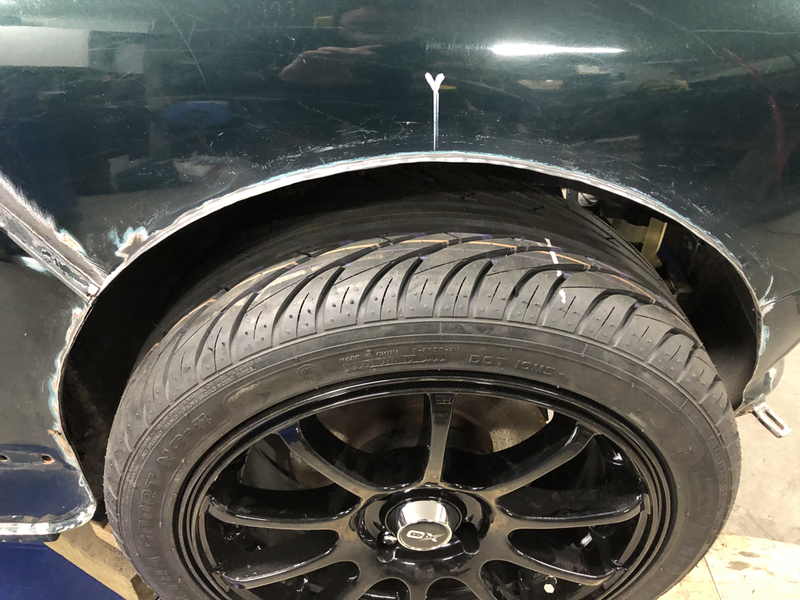
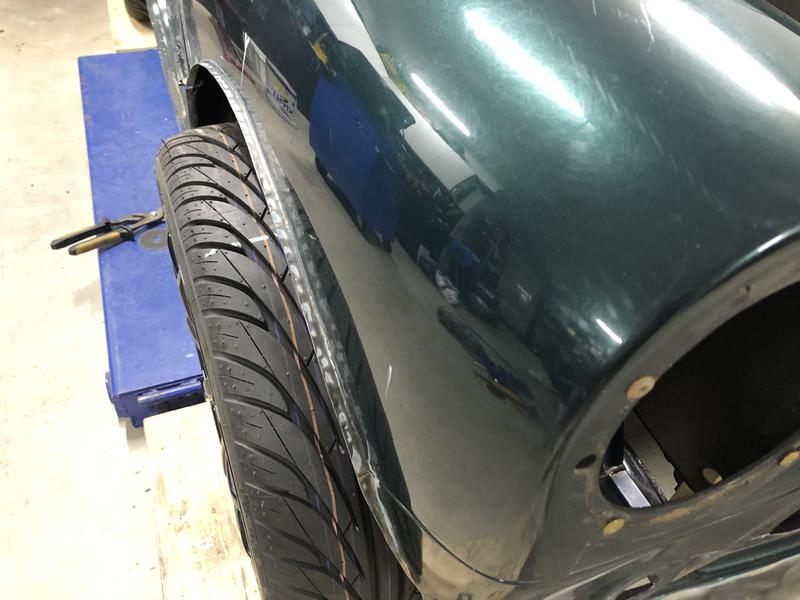
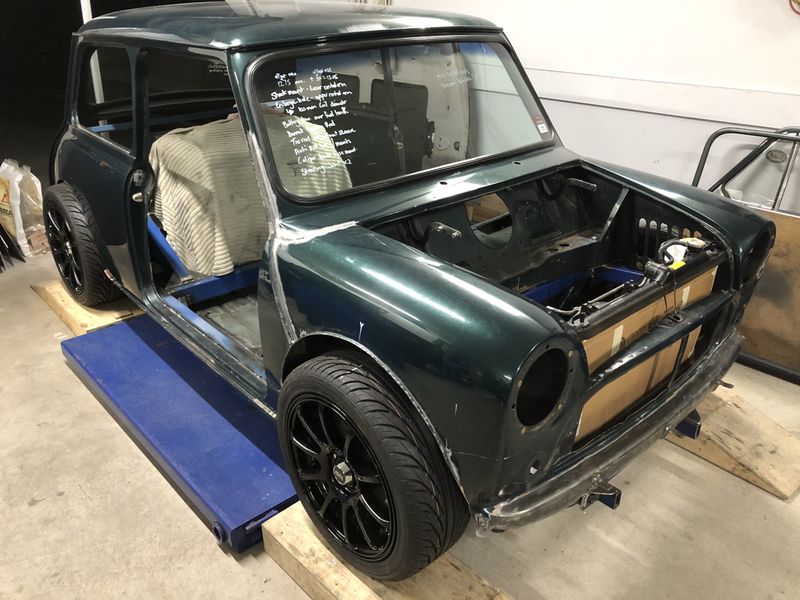
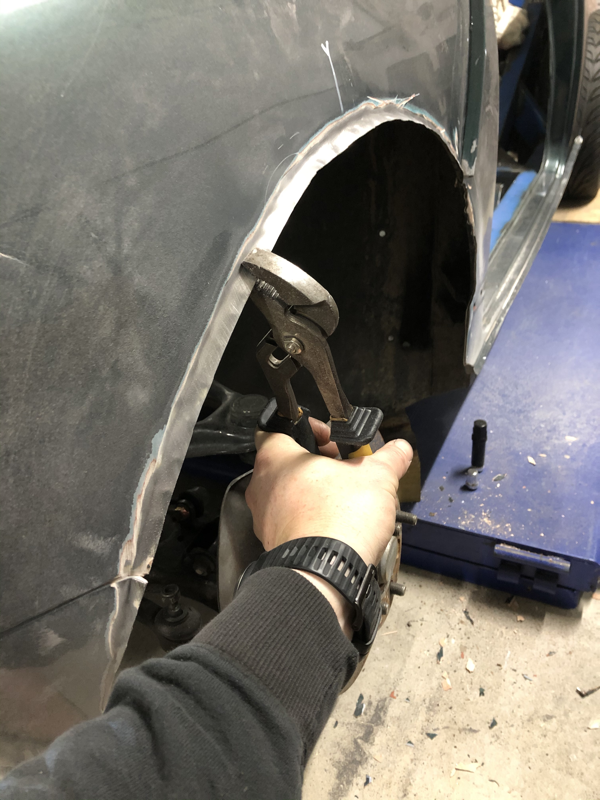
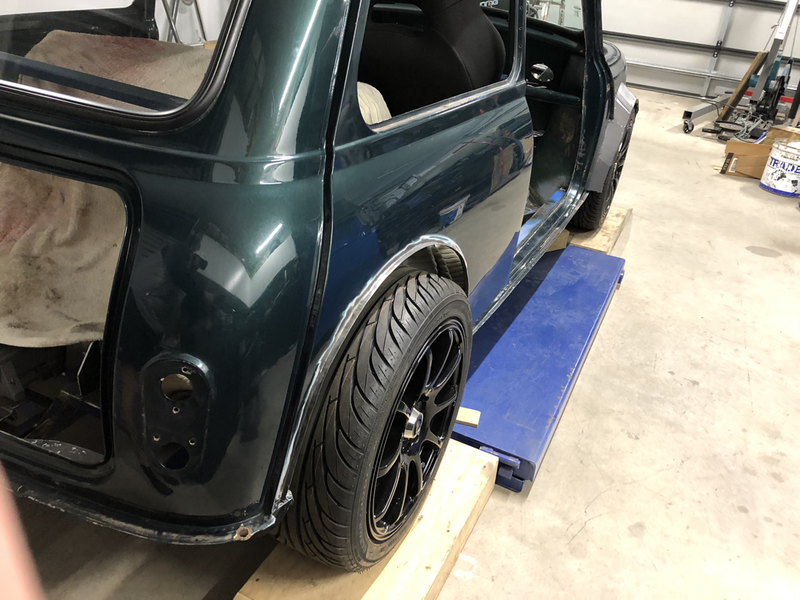
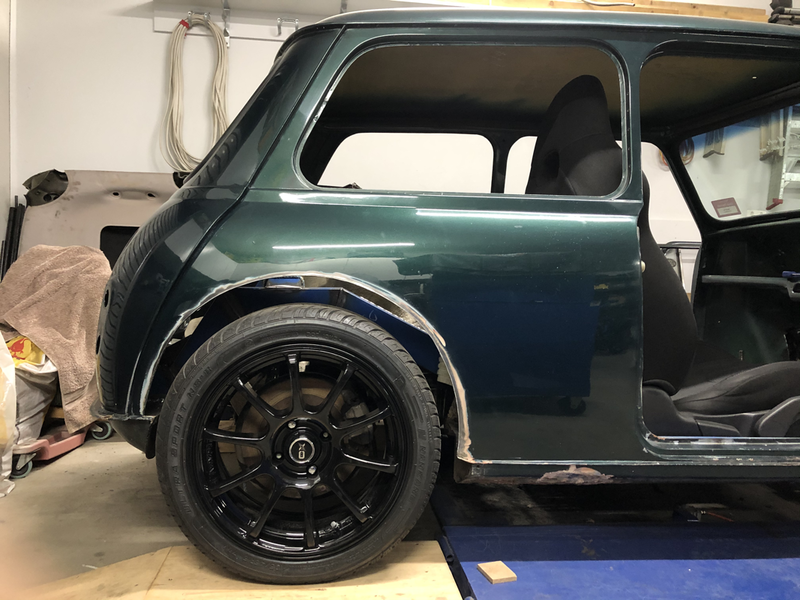
To work out the length of the coil overs I needed to make sure the vehicle was at the correct ride height. Then I had to ensure there is good clearance around the wheels for suspension travel. A 50-60mm clearance was required. Out came the 4” grinder & finished off with a pair of multi grips to give it a lip. No bad if I do say so myself.
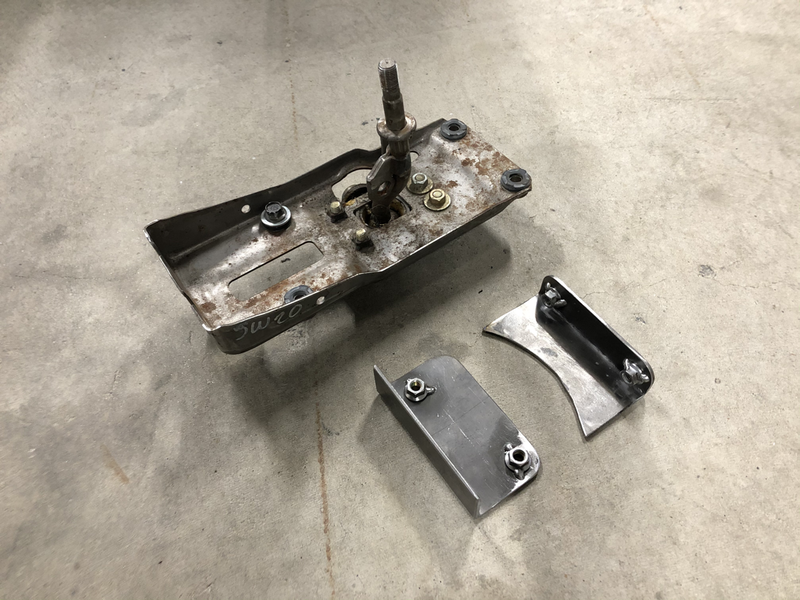
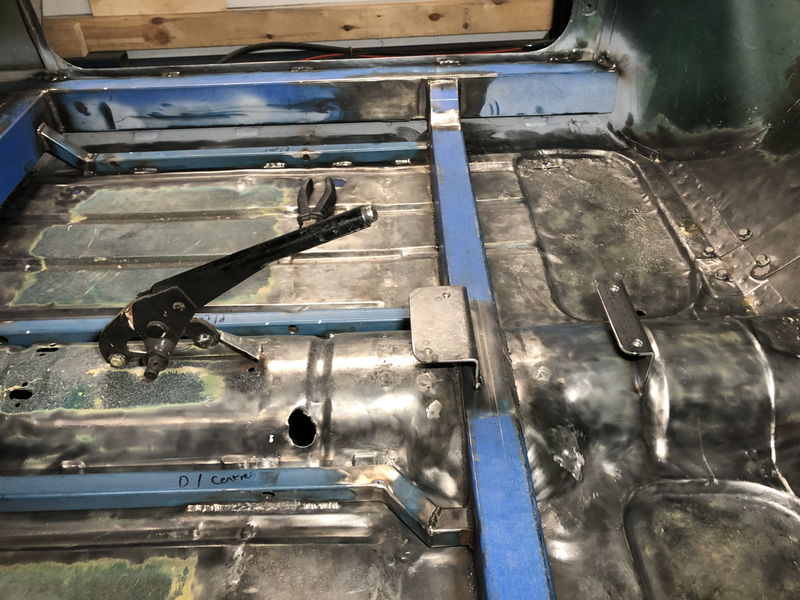
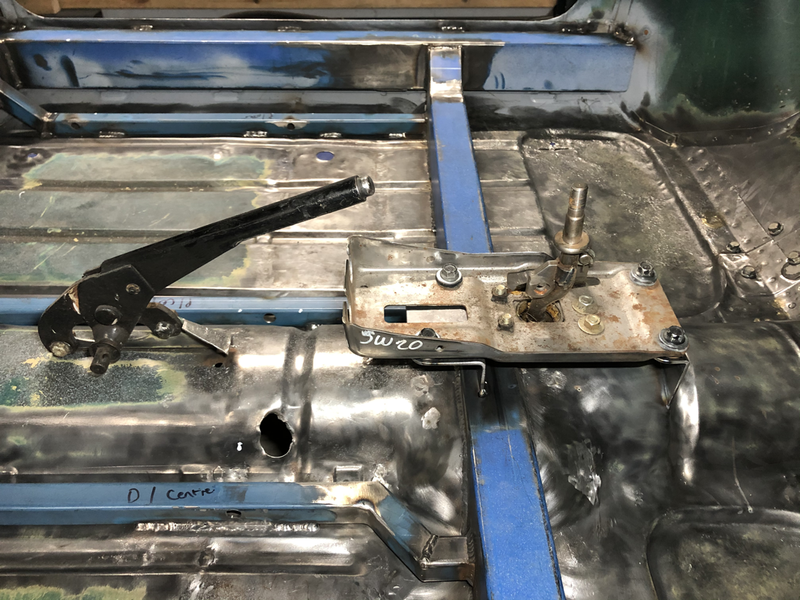
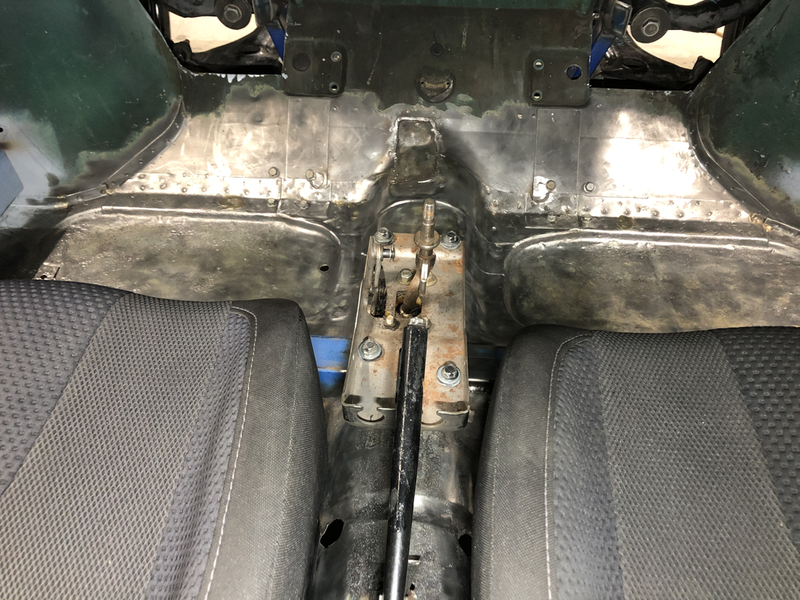
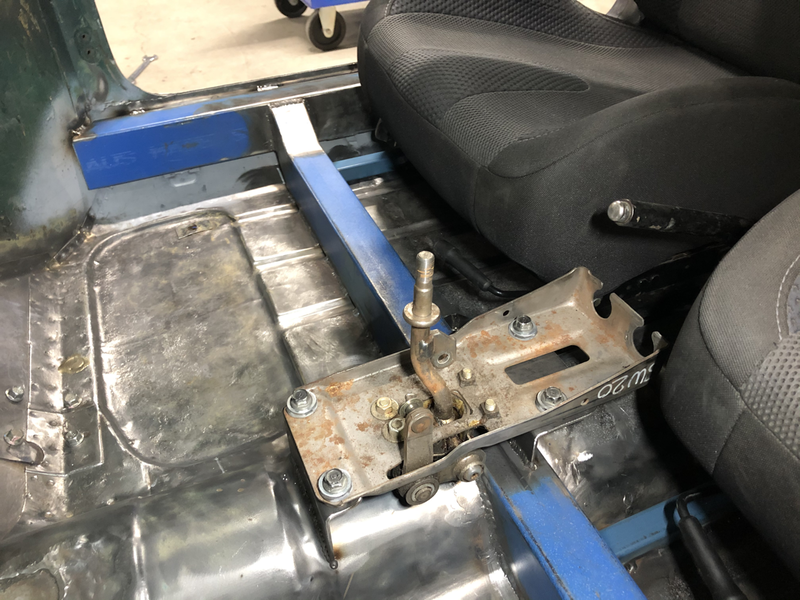
I bought a gear shift box from an Toyota MR2 (SW20) to cater for the cables down the track. A couple of brackets were made to mount it in.
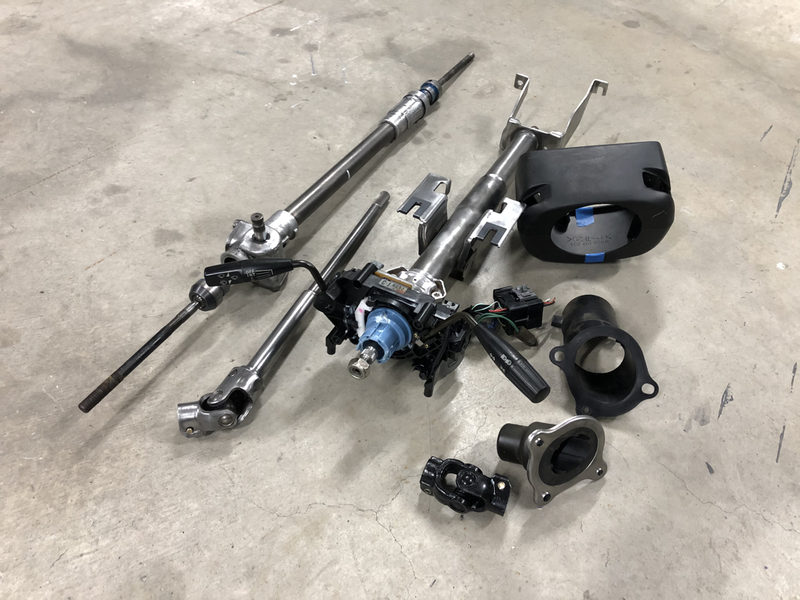
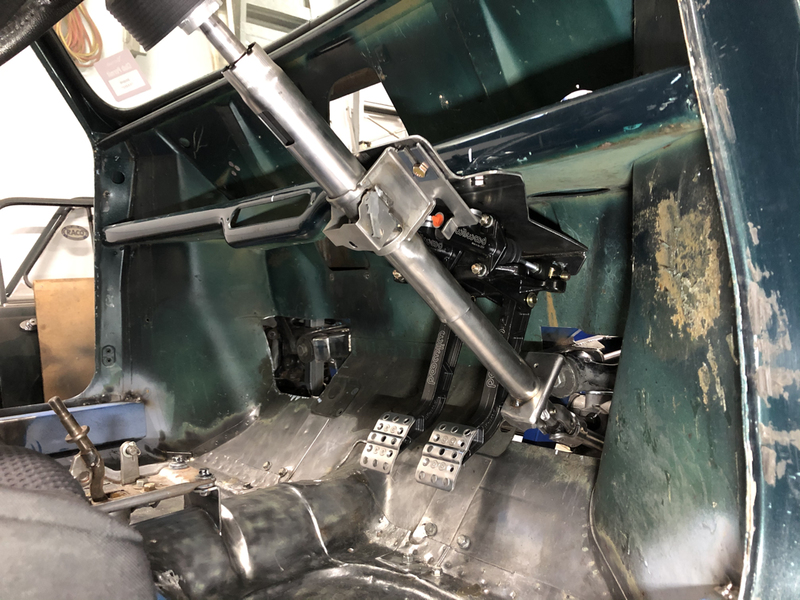
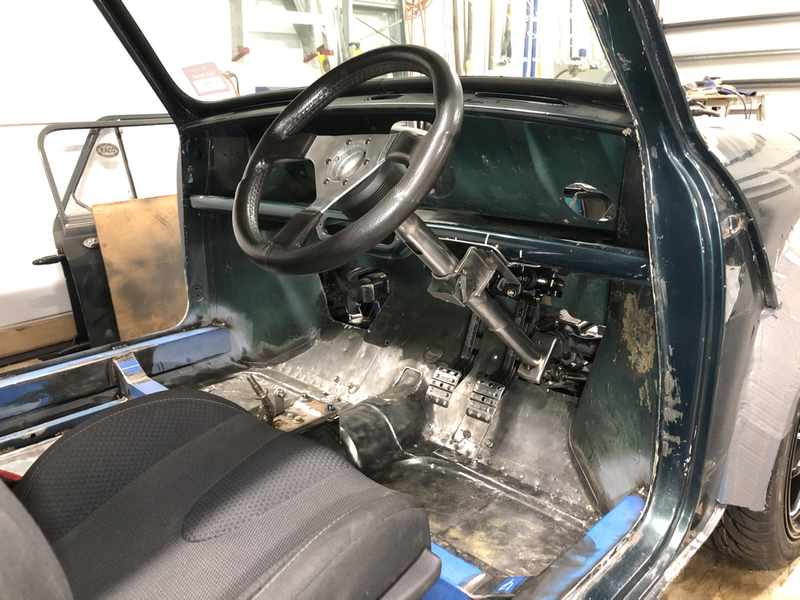
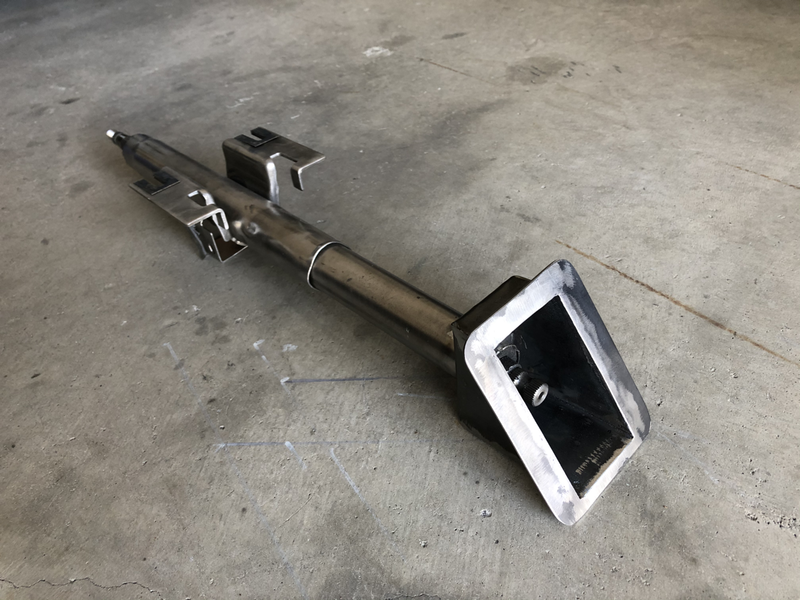
Then the MX5 collapsable steering column, lock cylinder, shroud & indicator/wiper cluster arrived. Steering was next to be mounted in.
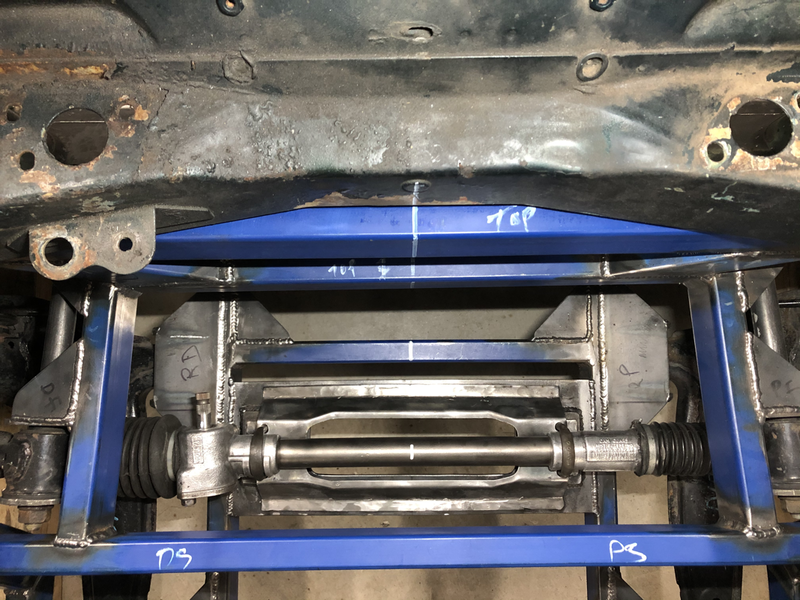
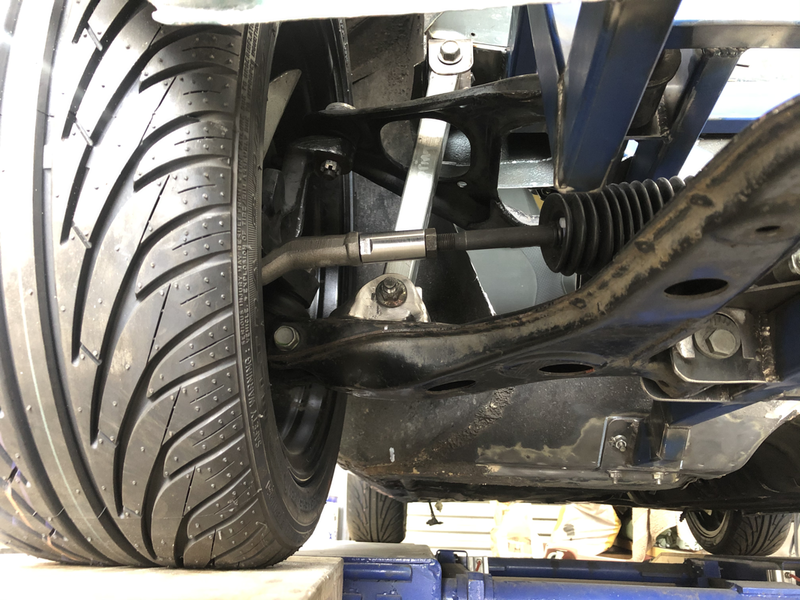
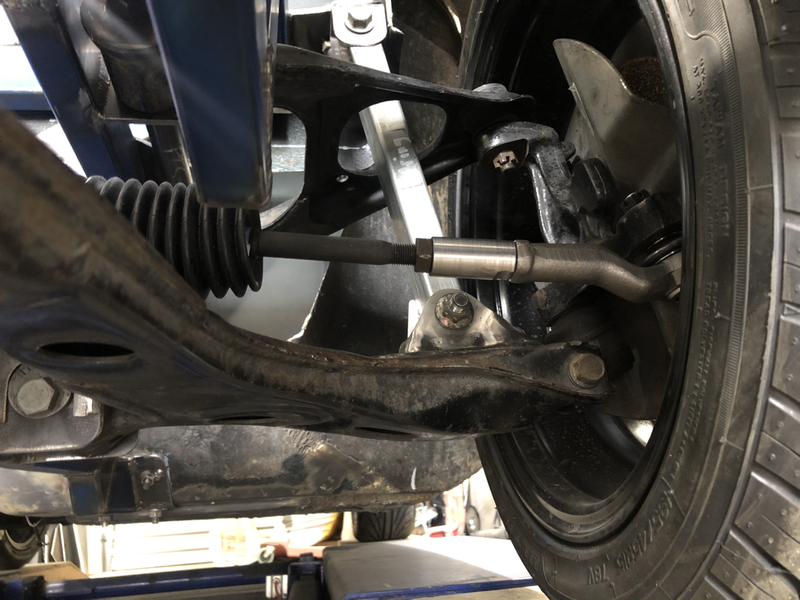
I am using the Mini steering rack but positioned in front of the wheels to fit the MX5 hubs & steering arms. This location meant that when you turn the steering wheel right the wheels actually turned left. Would have been a real challenge to drive. To rectify this I had to purchase a LHD steering rack and place it upside down for a RHD.
11/10/30
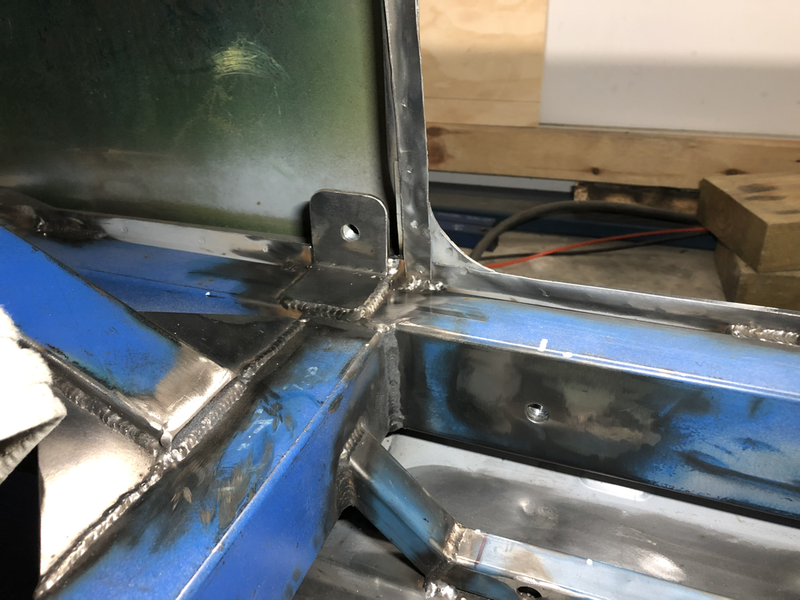
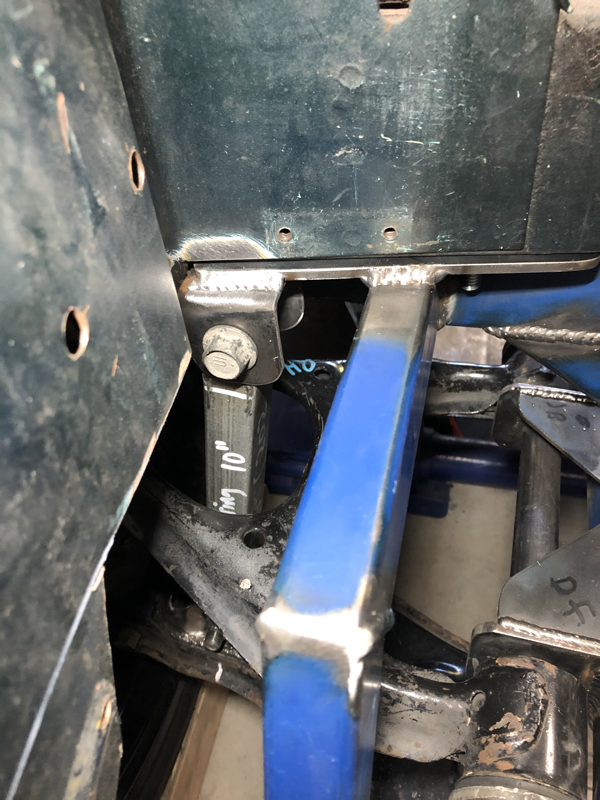
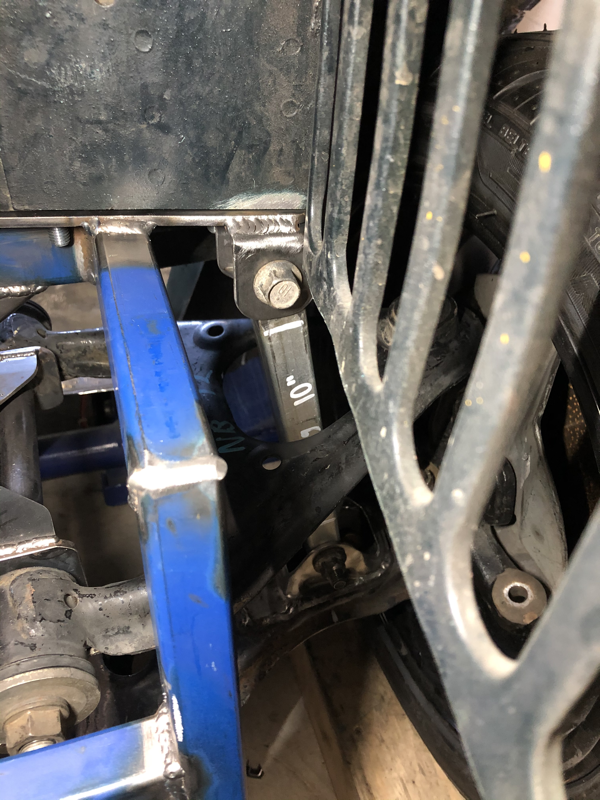
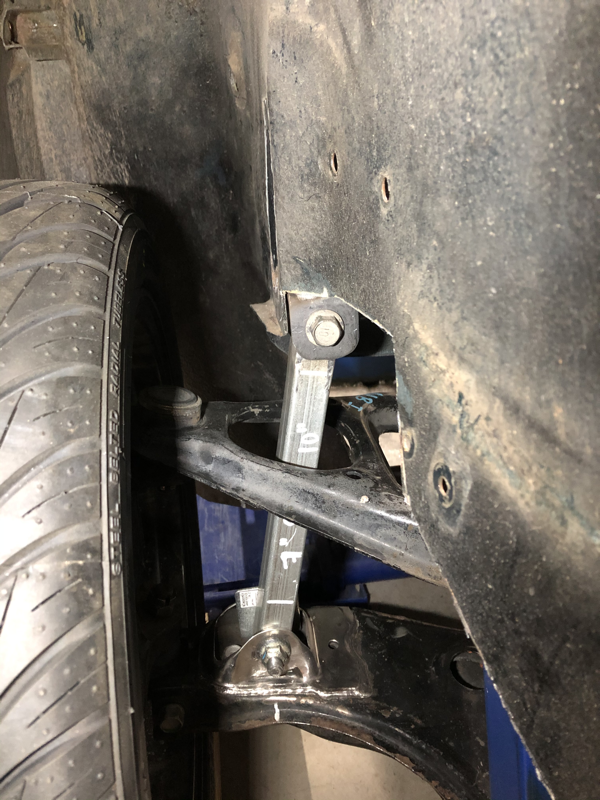
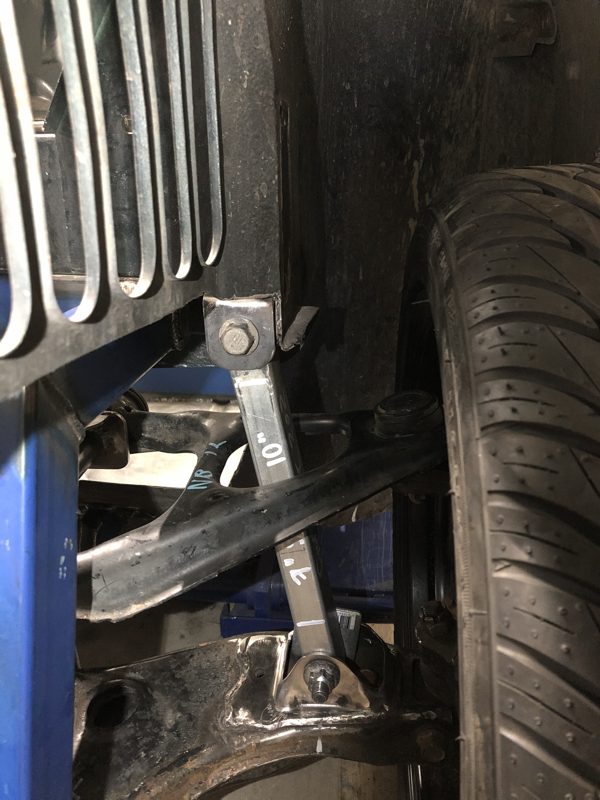
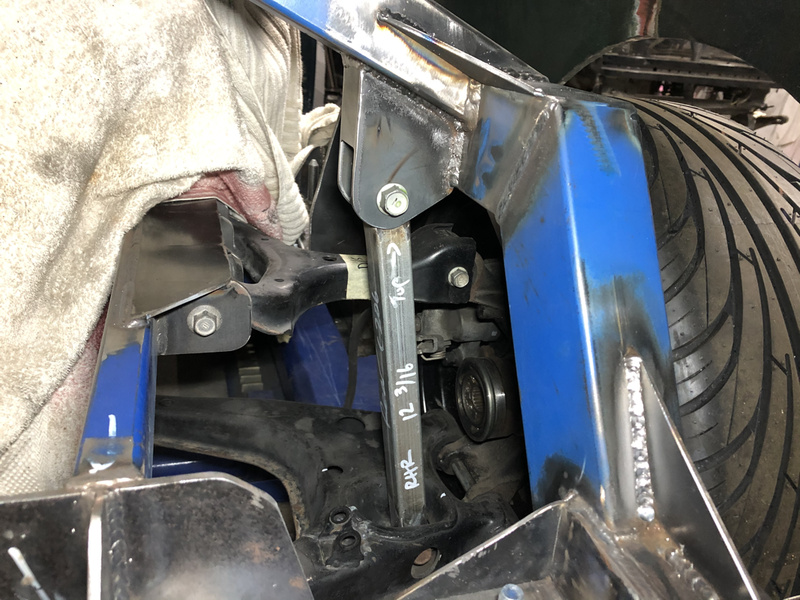
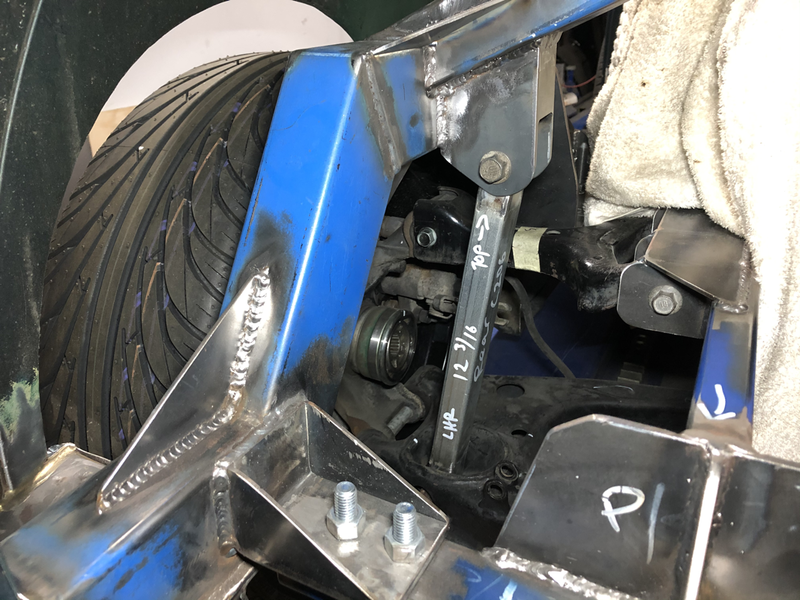
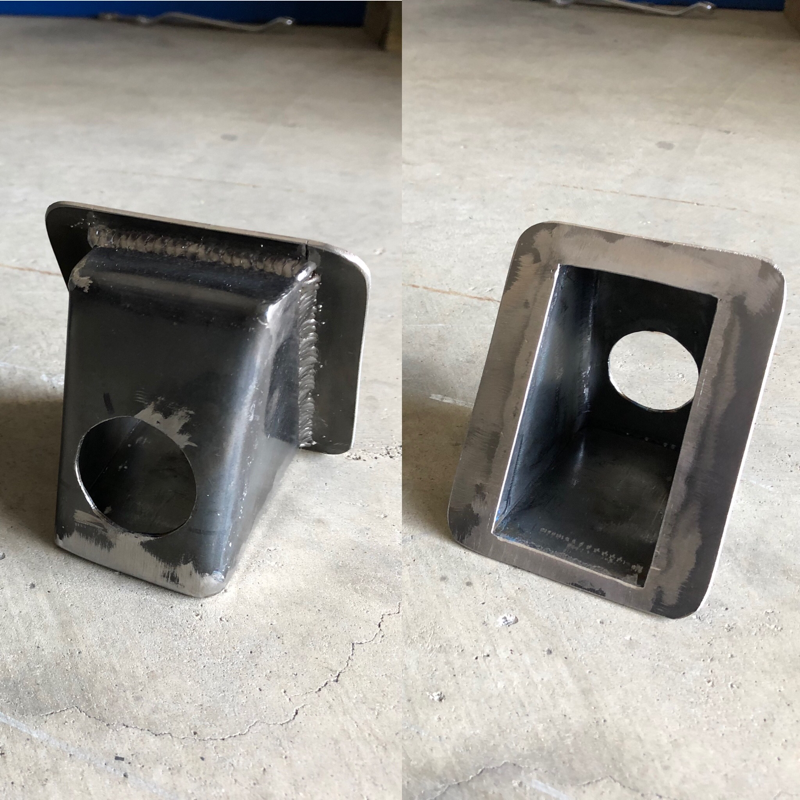
Once I knew what coil over length would fit I went about making the mounting points for them. I even put in a piece of tubing to act as coil overs and maintain the right height while continuing the build. They also serve a second purpose for the next torsion test.
Once I knew what coil over length would fit I went about making the mounting points for them. I even put in a piece of tubing to act as coil overs and maintain the right height while continuing the build. They also serve a second purpose for the next torsion test.
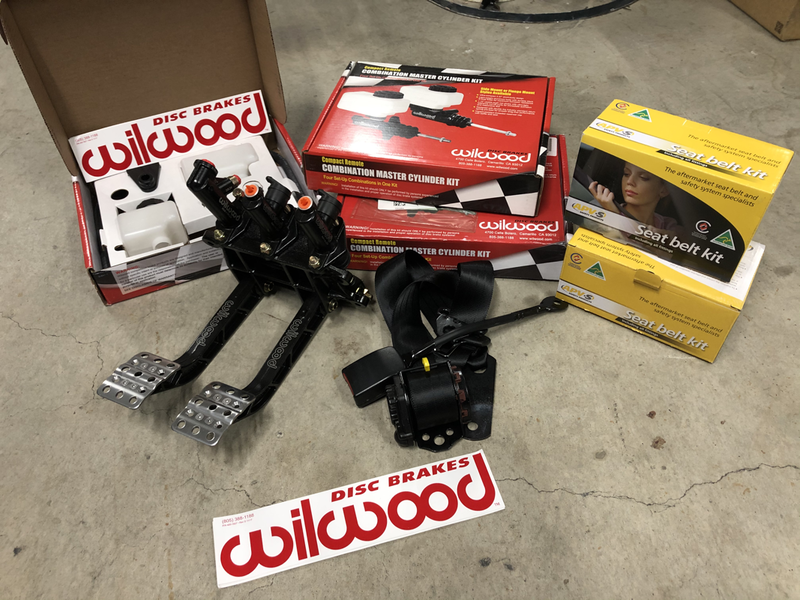
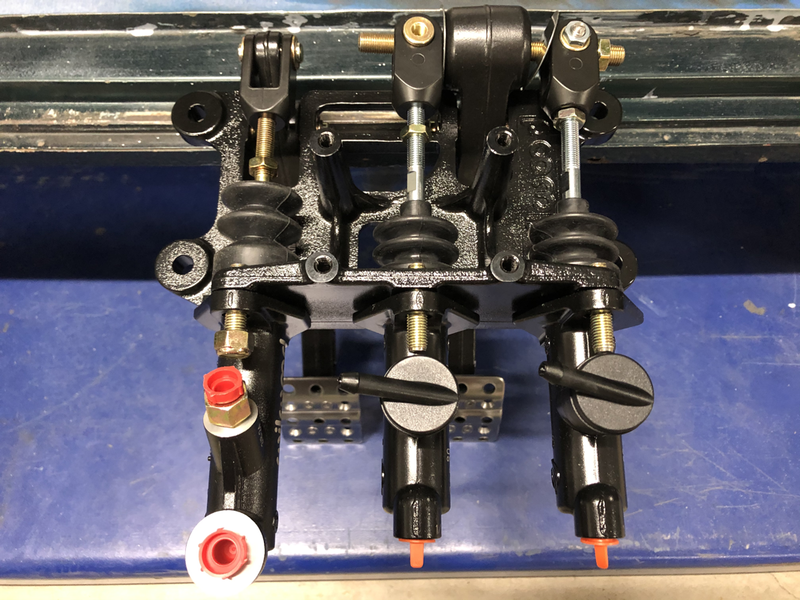
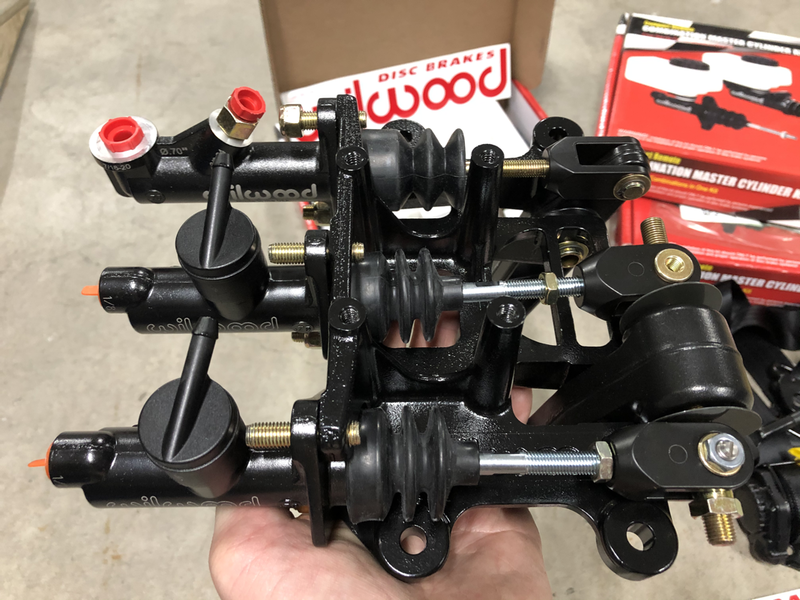
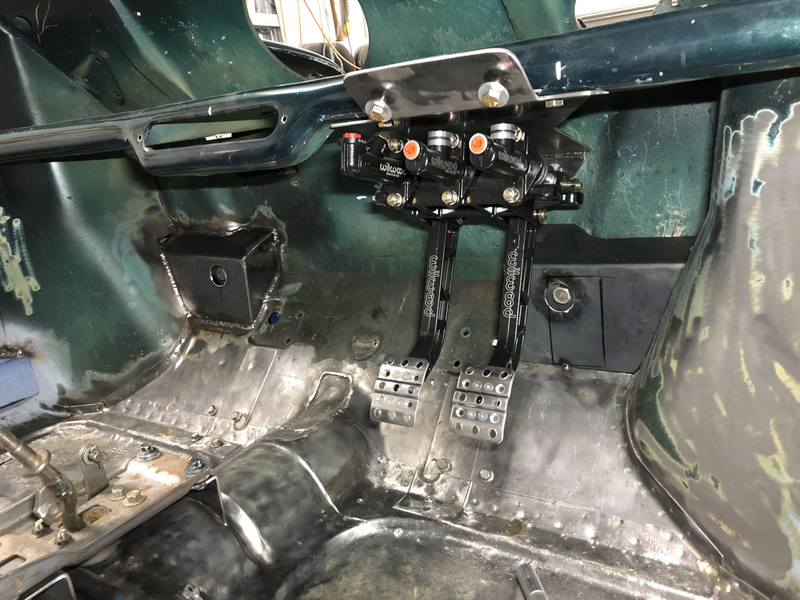
The Wilwood brake pedal box and master cylinders arrived from the US. Amazon was pretty quick this time.
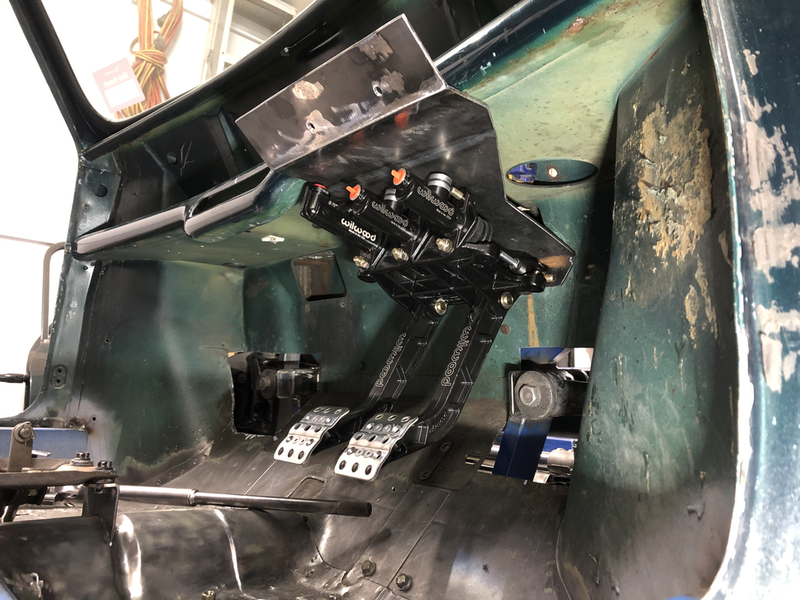
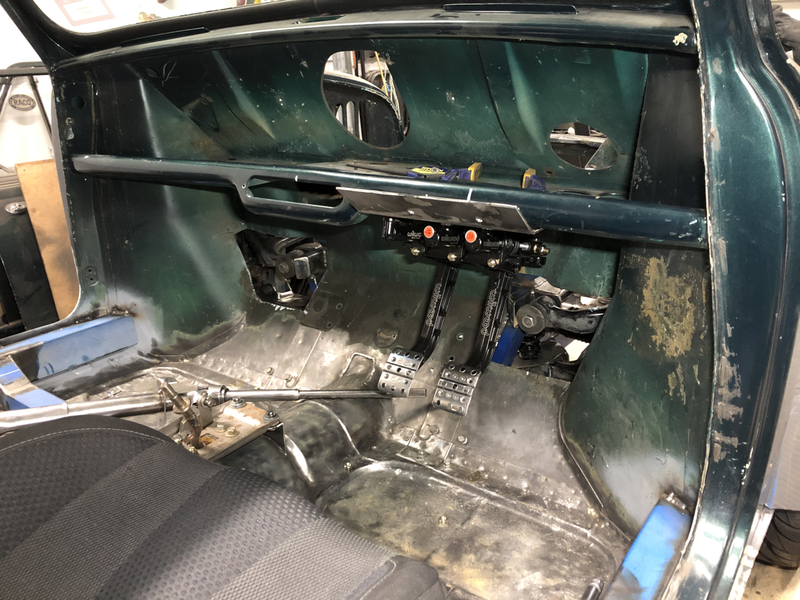
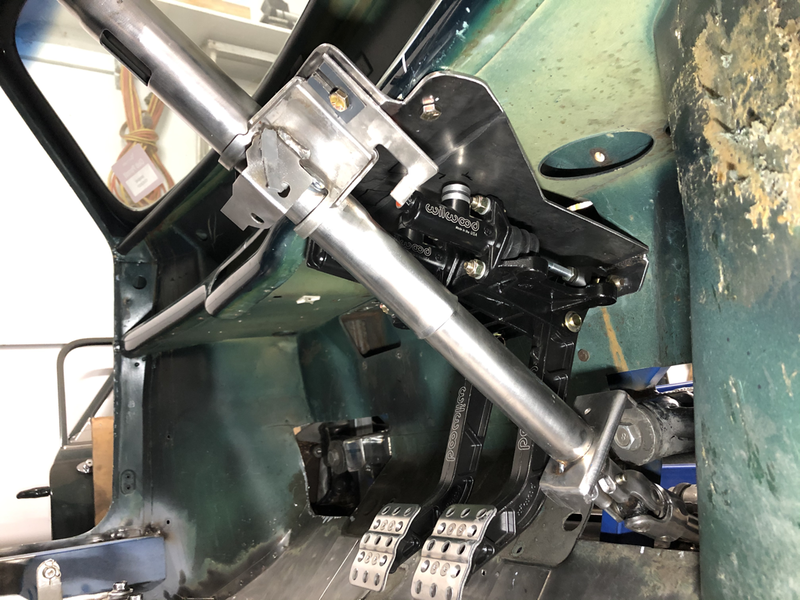
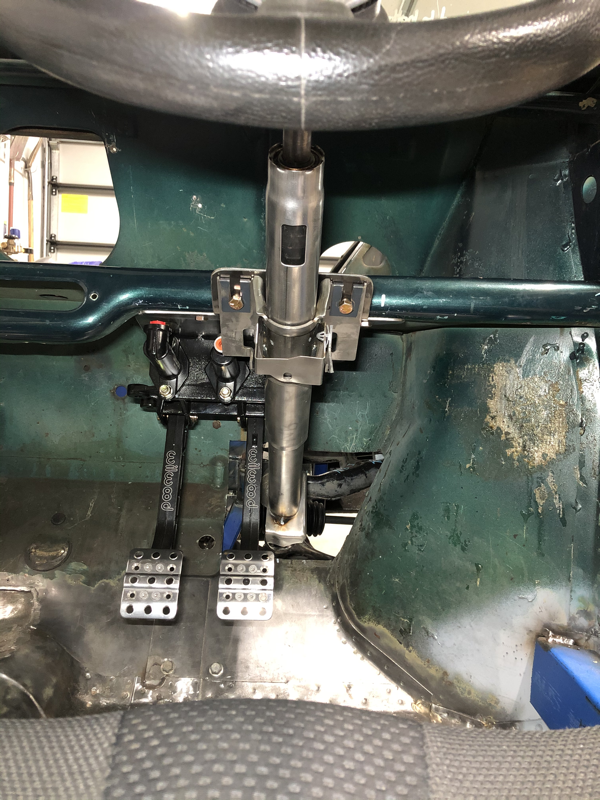
I really couldn’t mount the steering column until this arrived so I could see where the pedals would be positioned. I made up a plate to hold the pedal box and top of the steering column in one.
I really couldn’t mount the steering column until this arrived so I could see where the pedals would be positioned. I made up a plate to hold the pedal box and top of the steering column in one.
21/10/29
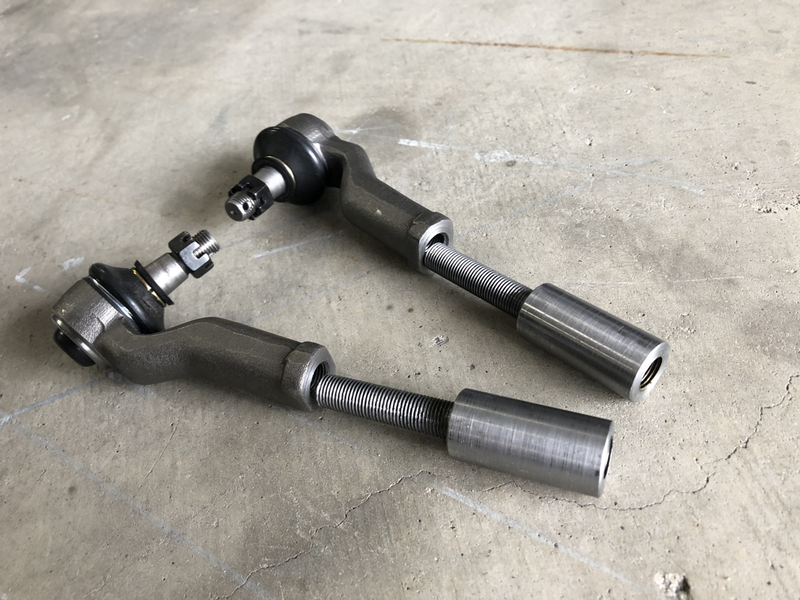
The mini steering rack has 1/2” imperial threads on the track rods while the tie rod ends of the MX5 are 12mm metric. I also had a 25mm gap to fill due to the wider track so I had to make up some sleeves to suit.
The mini steering rack has 1/2” imperial threads on the track rods while the tie rod ends of the MX5 are 12mm metric. I also had a 25mm gap to fill due to the wider track so I had to make up some sleeves to suit.
25/10/20
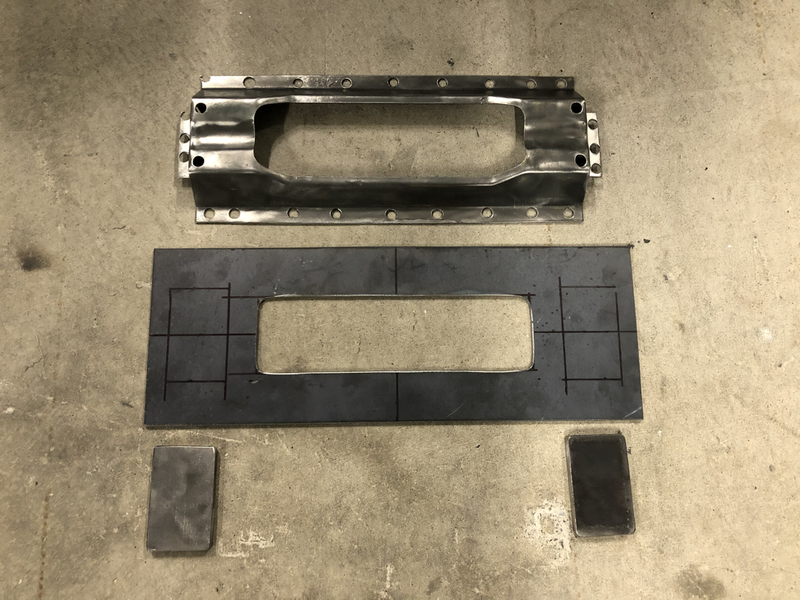
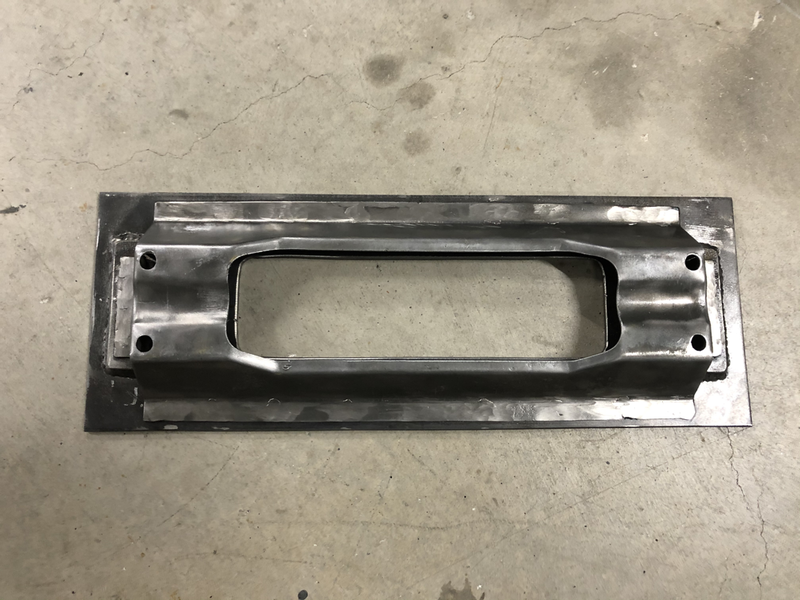
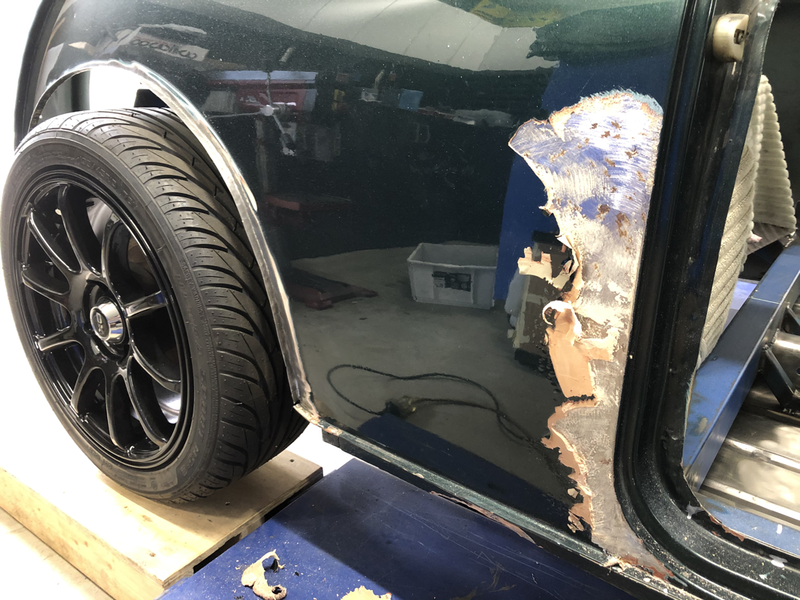
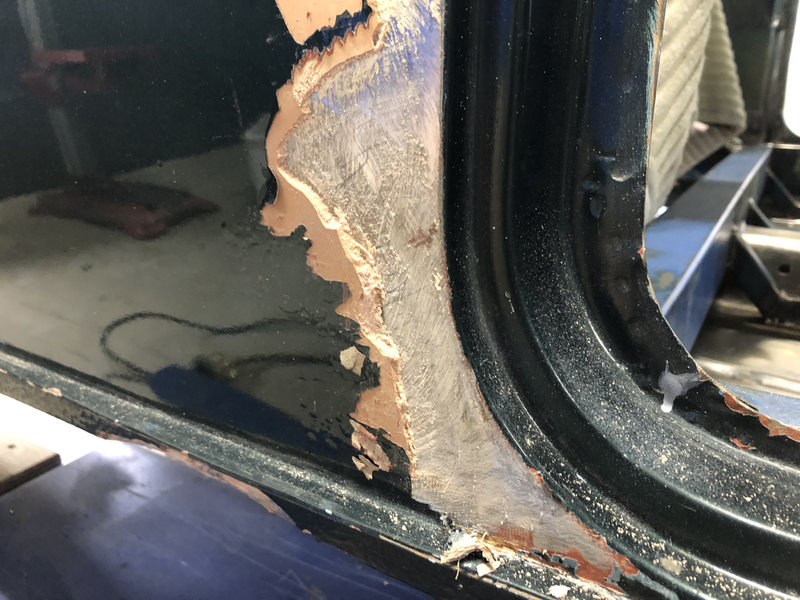
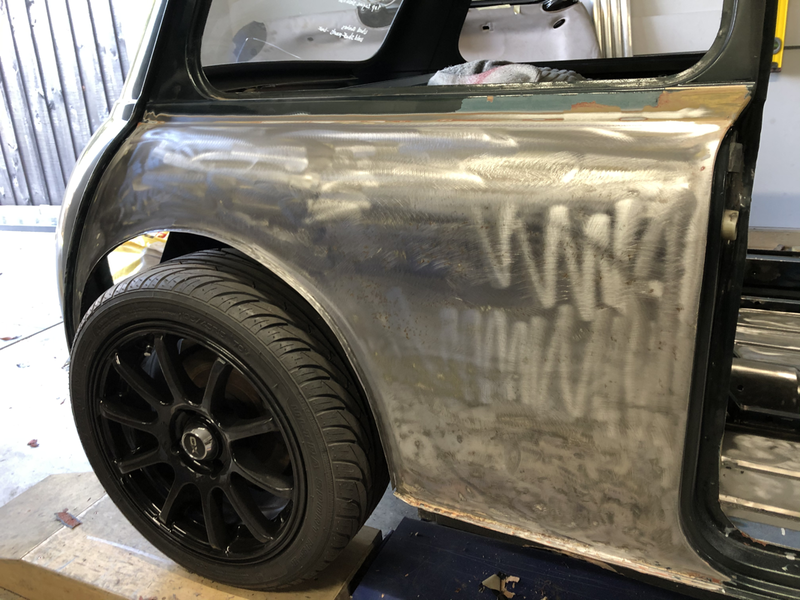
Today was a day of procrastination. Couldn’t really get motivated to do a lot so I fab’d up some covers for the original firewall which included a hole to access the front upper control arm bolts. The drivers side will also mount the bottom of the steering column and probably the accelerator pedal. I also spend 1/2 hour stripping a shit load of filler off the RHR quarter panel. Bloody ridiculous amount of filler. I think one of the previous owners had shares in filler or something.
I’m pretty sure the other side will be the same.
