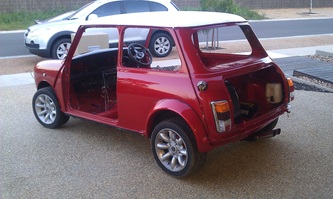
The Assembly begins
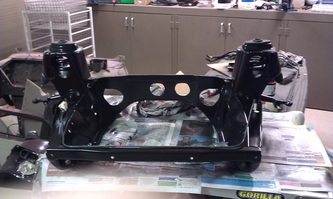
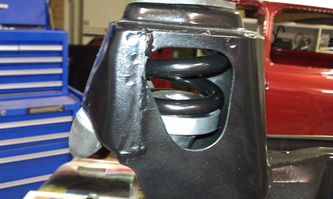
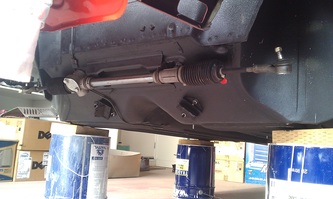
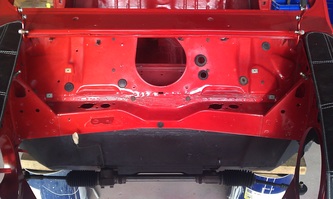
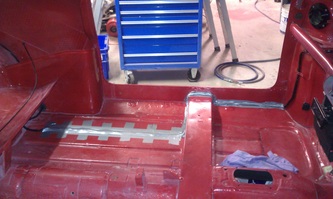
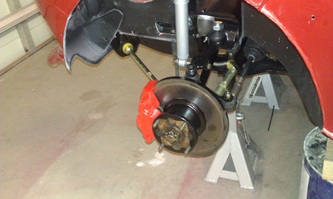
Last weekend 5/2/11, I cleaned & painted the engine subframe. I then added the coil springs, upper suspension arms and relevant buffers so it is ready to install. I also installed the brake line, steering rack & subframe mounts to the body of the car. Just need to get some new fuel lines for the SPI installed then the rear subframe is ready to go on too.
Got a few productive hours in last night (10/2/11)
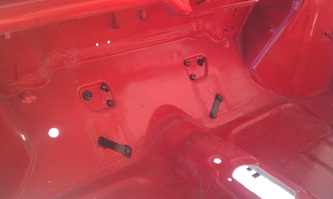
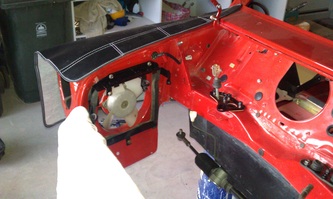
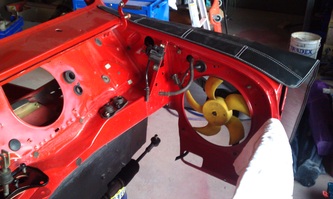
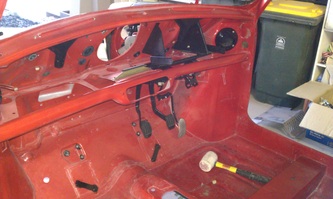
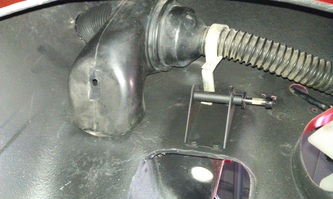
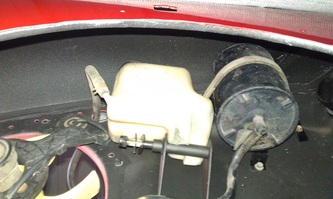
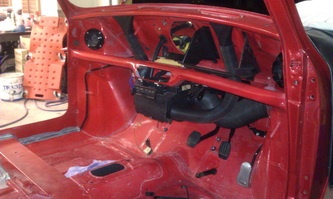
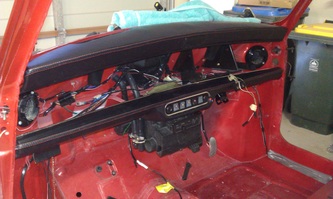
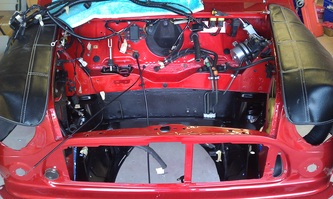
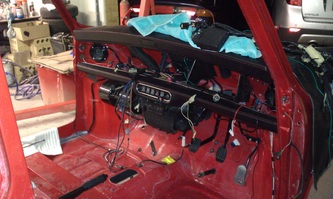
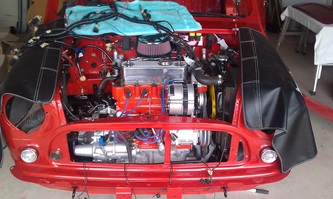
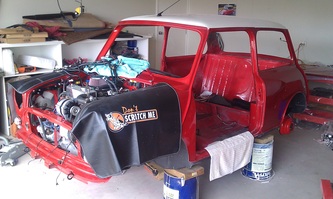
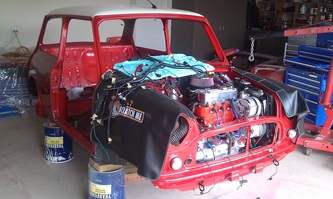
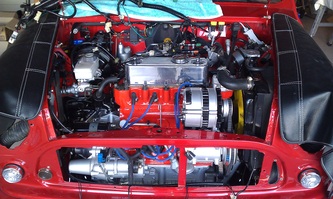
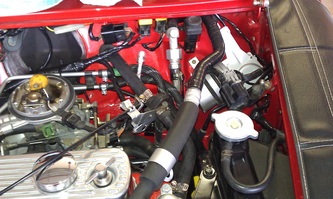
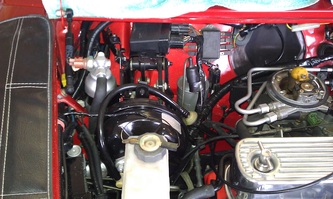
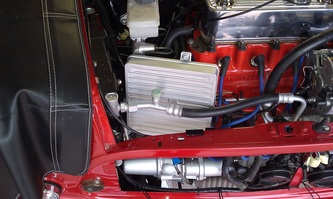
Installed the A/C condenser bracket, fan, Radiator thermo fan, over flow bottle, emission breather canister, pedal box, dash bracket, fresh air hoses and more. see photos below
Installed the A/C condenser bracket, fan, Radiator thermo fan, over flow bottle, emission breather canister, pedal box, dash bracket, fresh air hoses and more. see photos below
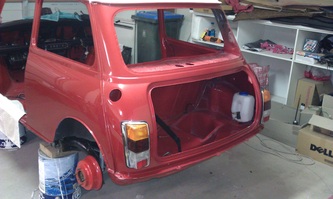
The other day I sanded back the orange peel in the paint with a palm sander and ran over it with a rubbing compound then a polishing compound. Smooth & flat as a babies bum. Turned out awesome
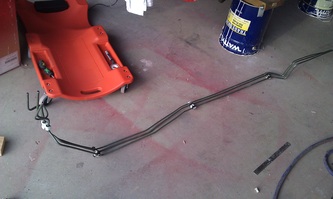
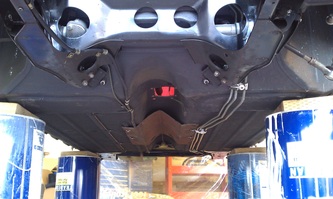
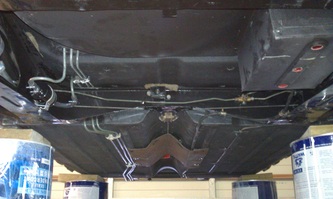
Started running the fuel lines too. Plenty of bending, twisting and bowing to get it right but came out ok. Also started installing the wiring harness. Looks a mess but should be ok as I have marked each plug with a location and actually have a good memory of how it all was before I pulled it out. If ever there is a problem then I can refer back to the hundreds of photos I took to cover all bases.
Started running the fuel lines too. Plenty of bending, twisting and bowing to get it right but came out ok. Also started installing the wiring harness. Looks a mess but should be ok as I have marked each plug with a location and actually have a good memory of how it all was before I pulled it out. If ever there is a problem then I can refer back to the hundreds of photos I took to cover all bases.
The weekend has passed (19th & 20th Feb 2011) and I managed to get a bit done. I fitted up the fuel lines and fuel filter. Put in the front and rear sub frame and connected all the brake lines and cables. Also set up the wiring harness so that all the plugs are in the right place. Installed both the top and bottom dash pads, speaker wires, subwoofer wiring and an optional lighting kit for the centre dash switches which includes a warning chime when the lights are left on and the ignition is off. I also installed the handbrake and connected it to the cable.
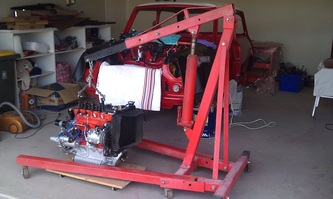
Called my dad over to help drop the engine in on the weekend. I forgot how little room I have to play with once everything starts going back in. So far haven’t had any problems fitting hoses, brackets, cables etc. Still heaps to do in the engine bay like brake booster, A/C, wiring. Also fitted the rear tailights and washer bottle. All in all I am happy with the progress so far.
Brake lines, valve, master cylinder, booster etc are all fitted now. Clutch lines are also done. Also installed the drive shafts, hubs, front suspension arms and shocks.
Slowly running out of room now in the engine bay and there is still the A/C pipes, condenser, engine ECU and wiring harness to be fitted.
Date: 1/3/11
Slowly running out of room now in the engine bay and there is still the A/C pipes, condenser, engine ECU and wiring harness to be fitted.
Date: 1/3/11
Things are going back together nicely. I'd be lying if I said I didn't have to modify some things to get them back in the engine bay. Bend this bend that just to squeeze it all in. I think it is all in now. let’s hope there is nothing left in a box that I have forgotten about.
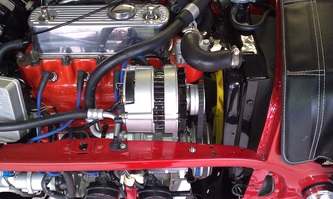
The wiring harness is all connected and there is no plugs left so it must be correct. The A/C, Alarm siren, horns etc are in too. You’ll see below that it is jam packed now. let’s hope it starts.
The exhaust, gear linkage, rear wheel arches, fuel tank & steering column are going in over the weekend.
I am out every night till about 11pm so it is taking a toll but cos it is so close you just keep battling on.
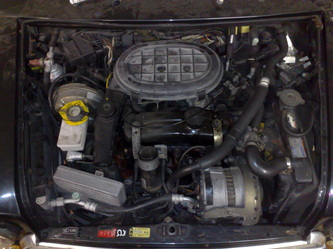
I have also thrown in a photo of the half cut that was used. Big difference in appearance. It’s amazing what cleaning and painting will do. It is like one of the before and after photos of models without makeup and in bad light then with makeup, hair done and plenty of light. Date: 3/3/11
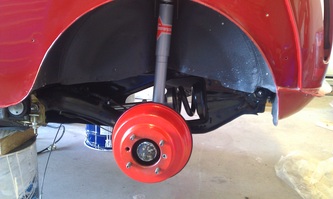
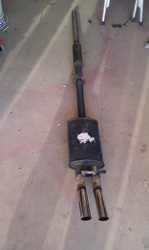
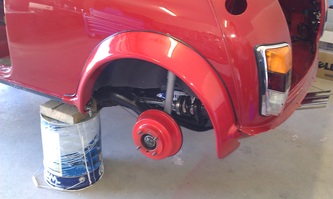
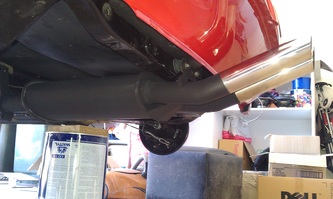
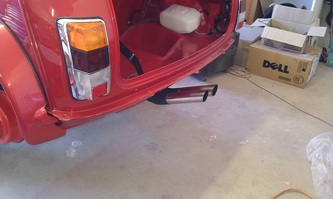
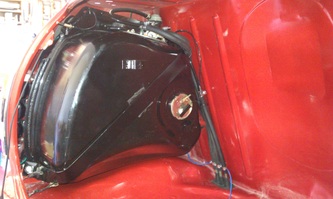
The rear wheel arches were fitted on the weekend so I could get the fuel tank in. The exhaust was also fitted after giving it a coat of exhaust paint. (temp resistant)
I got a heap of satisfaction out of putting the wheels on and rolling it out of the garage to try and start the beast. Unfortunately I could only get it to chug for about 10 seconds with the throttle fully open.
I spoke to Rob Webster from Martini heads and he said I have to adjust the valve clearance as he ground the valves and seats when he ported the head and put the bigger inlet valves in.
To Rob it was a standard thing to do but I didn’t realize that it needed to be done. (he gave me a stick about it too. Ha ha)
I’ll do the adjustment and see what happens.
