Preparing the body for paint
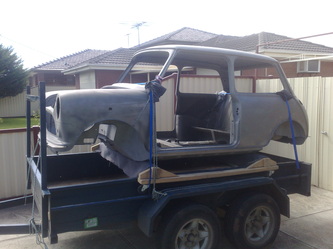
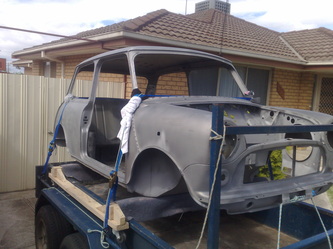
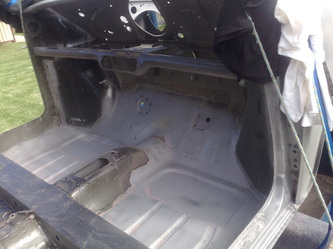
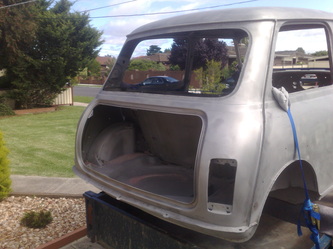
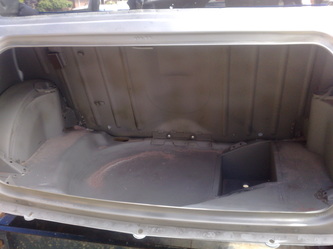
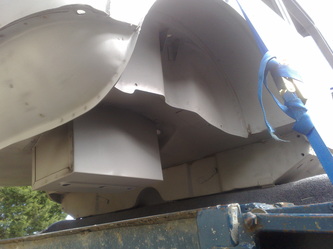
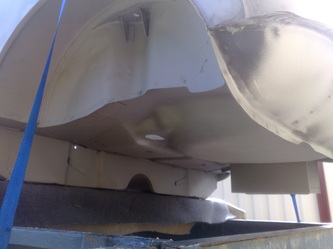
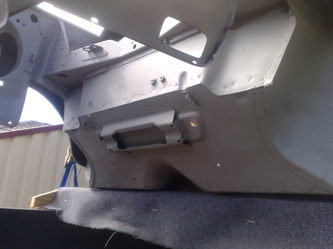
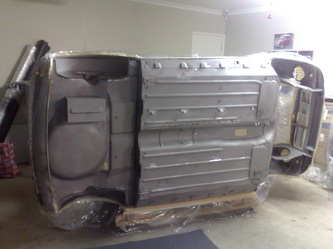
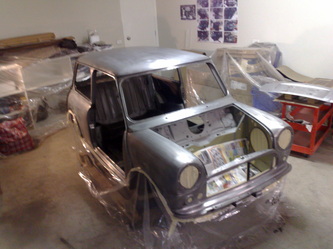
Picked up the body from the bead blasters a week later on Saturday the 11th. Looks great. all back to bare metal now. It was a crappy day weather wise so I had my fingers crossed that the rain held off for a couple of hours so I could get it home into the garage. Luckily it all worked out well.
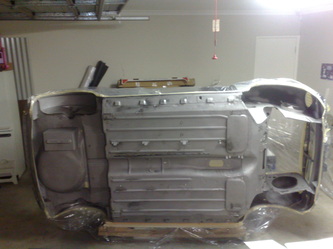
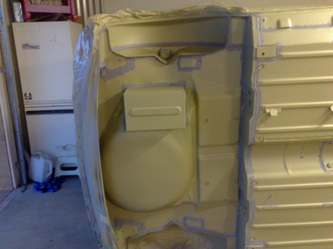
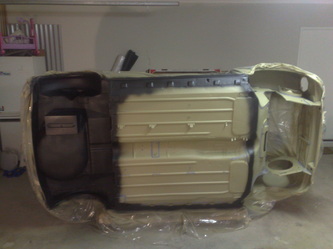
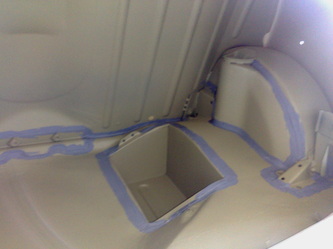
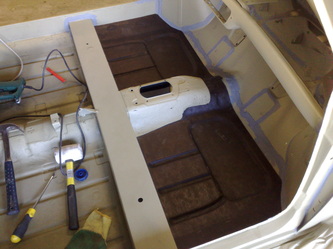
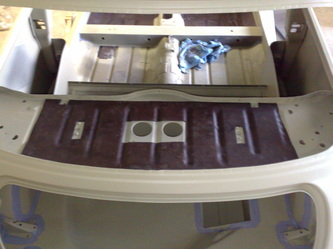
My dad, sister & her boyfriend helped me get it off the trailer and onto its side so I could get stuck into the bottom. I needed do a few things before I could prime the bottom, these included adding some screws to the floor for the fuel line brackets, cutting a large hole in the boot floor for the fuel lines & a hole in the front fire wall for the A/C over flow pipe. I then masked up the car ready for primer.
My dad, sister & her boyfriend helped me get it off the trailer and onto its side so I could get stuck into the bottom. I needed do a few things before I could prime the bottom, these included adding some screws to the floor for the fuel line brackets, cutting a large hole in the boot floor for the fuel lines & a hole in the front fire wall for the A/C over flow pipe. I then masked up the car ready for primer.
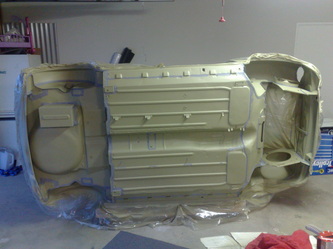
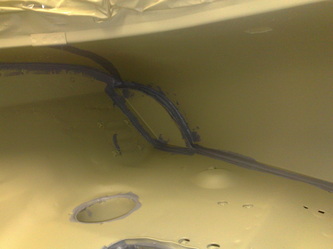
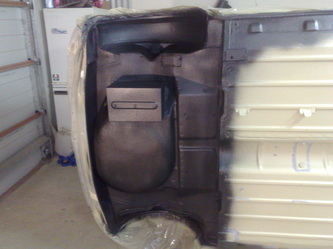
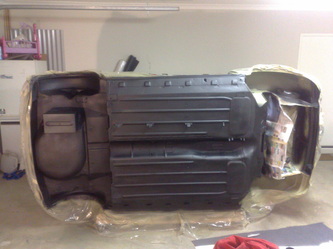
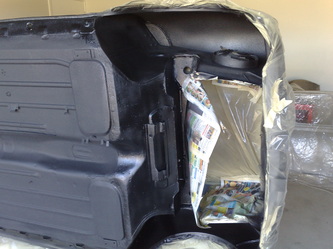
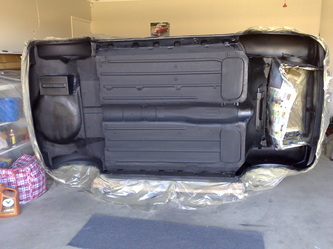
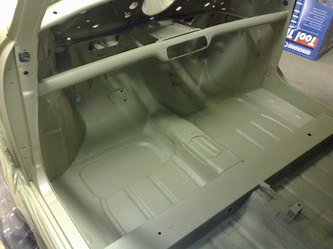
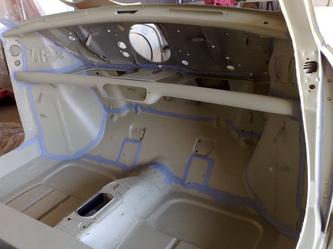
Monday night I sprayed an epoxy etch primer onto the bottom of the car & let it dry for 24 hours. Tuesday night I ran a heap of seam sealer over every possible seam. I clearly remember where all the rust occurred and made sure it was sealed properly this time. I let the sealer dry while I had some dinner then got stuck into the stone guard. It looks good and I am confident that I have protected the bottom of the car from rust for a long time. Unfortunately, I ran short of stone guard so had to get more on Wednesday to finish it off on Thursday night. I’ll then let it dry for a couple of days before turning it up right on Saturday to start the rest of the body. This weekend is going to be busy as I hoping to get the rest of the car primed ready for paint in the new year.
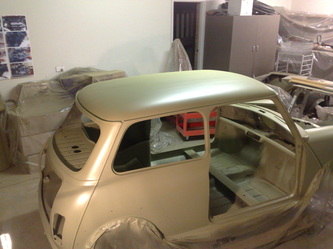
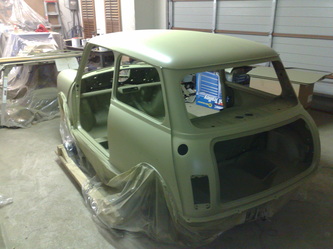
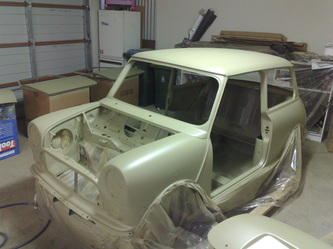
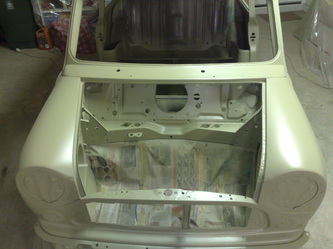
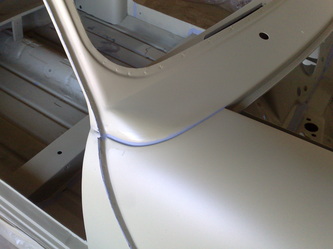
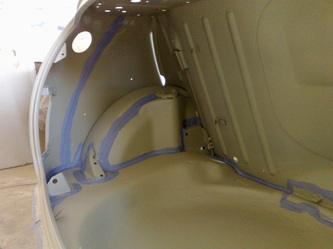
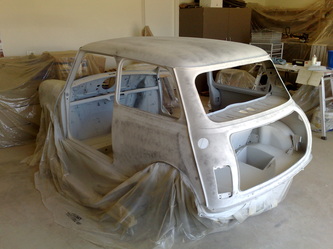
Tipped the car upright on Saturday so I could do some modifications to the body before giving it a couple of coats of Epoxy/etch.
Modifications included
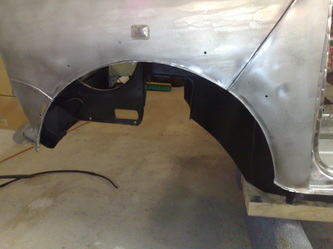
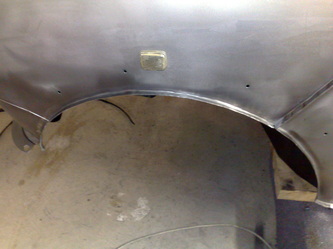
- Cutting the wheel arches & bending them up for the Sport Pack 13” wheels & wheel arches.
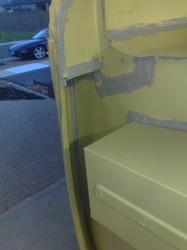
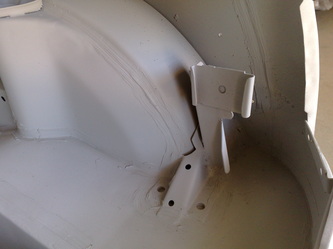
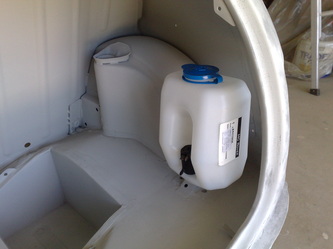
- Making a bracket & welding it to the RH rear wheel arch in the boot for the windscreen washer bottle. The washer bottle used to be in the front engine bay but with the new A/C set up this meant that there was no room for it so I had to make it like the 97 – 2000 models.
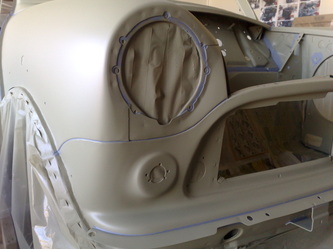
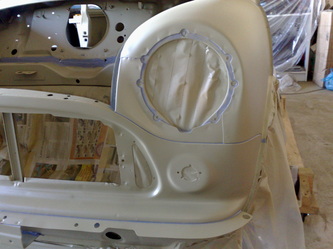
- Drilled four holes in the front panel for the front driving lights
- Drilled holes for the Alarm sensors
- Drilled holes in the doors & “A” pillar for the remote central locking.
- Drilled holes in the roof for the roof aerial. (Should get much better reception with this option)
- Drilled holes in the door skins for the new chrome convex mirrors.
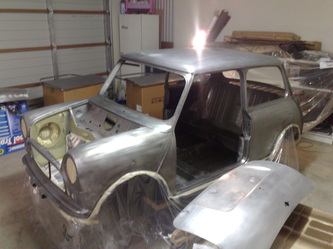
Sunday I continued with the modifications above. As usual, under estimated the time to do them. Drilling the holes was the easy part but to ensure the end result will look good I had to fit the bumpers, grille & doors to ensure all the holes were drilled in the right spot. Last thing I wanted was to fit them all after painting only to find out that modification would be required.
Less headaches later I suppose.
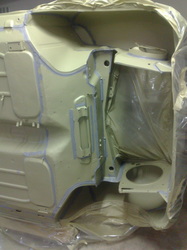
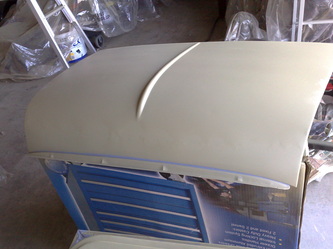
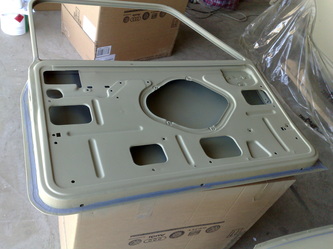
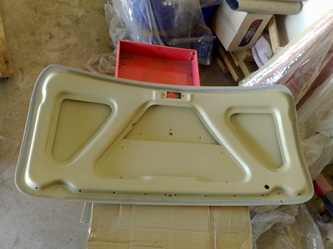
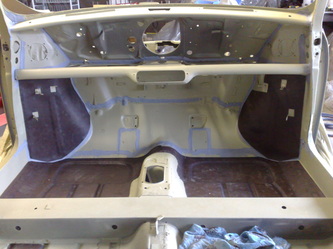
Started the Epoxy/etch late on Sunday night but am happy with the result.
Less headaches later I suppose.
Started the Epoxy/etch late on Sunday night but am happy with the result.
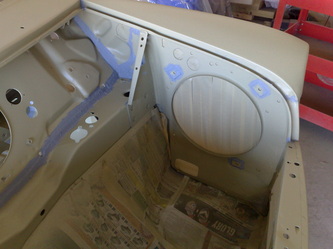
Monday night was all about the seam sealer. This car is going to be so water tight it is not funny. I clearly remembered where all the rust was when I started this project so special attention was made when sealing these areas. Considering no seam sealer was used in these areas on the production line I am sure that it will last a long time now.
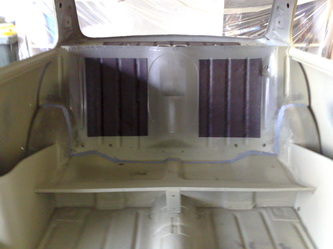
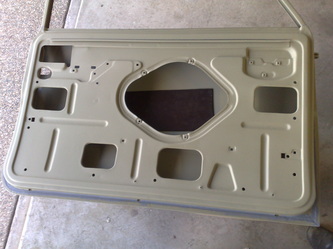
Tuesday I installed the sound deadener back into the front floor & wheel arches inside the car. I had a bit extra so I added some to the rear seat backrest, parcel shelf & door skins. The car doesn’t sound as tinny now but probably weighs a lot more. oh well, I’m not building it for race conditions. Hopefully the extra power I get from the engine mods will compensate.
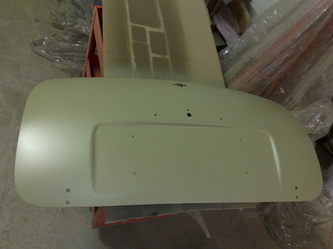
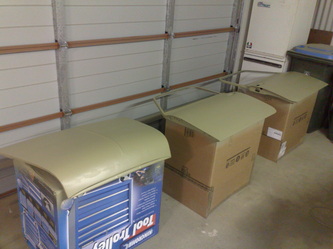
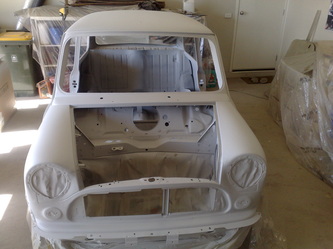
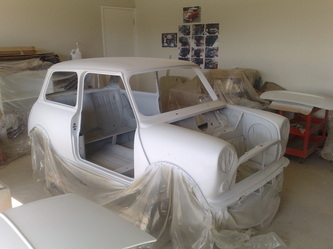
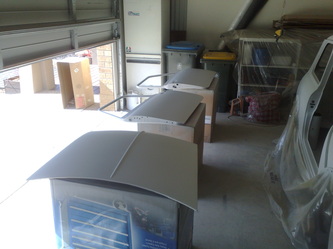
I managed to get it all primed in 2K high fill before Christmas. I was up late most nights so ended up buggered on Christmas day. I had a couple of days off and went interstate before coming back to do some more.
