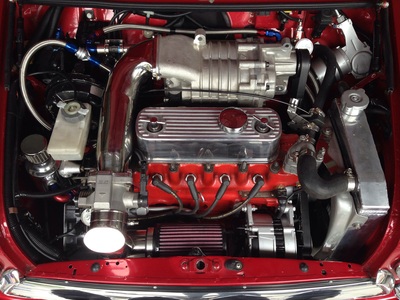
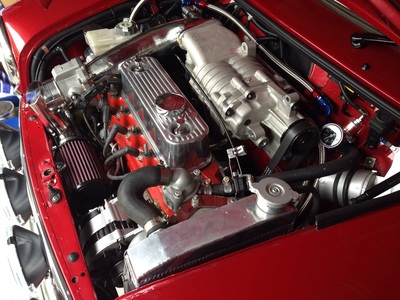
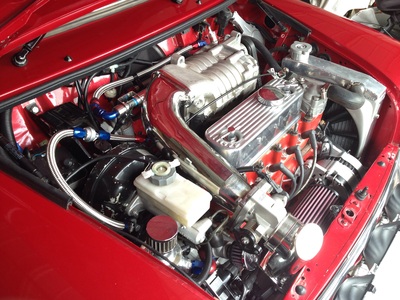
Supercharging
It has been a while since I have added to the site as I have just been enjoying driving around in my beast. As we all know, while we are out driving our Mini’s we have a lot of time to think. Unfortunately my thoughts are “I want more power”
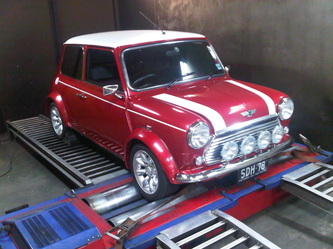
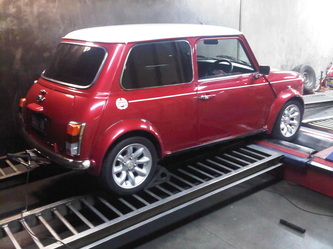
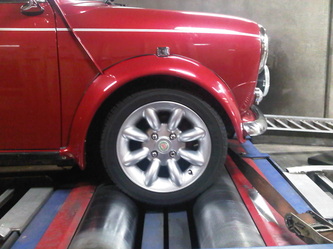
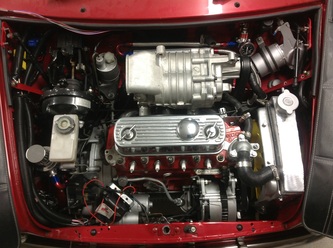
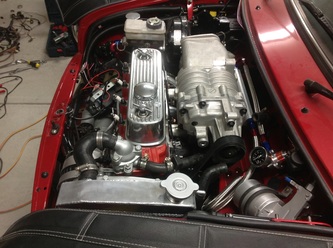
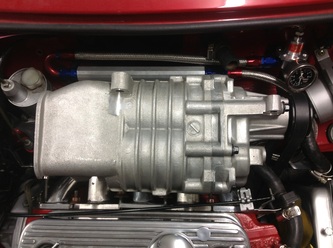
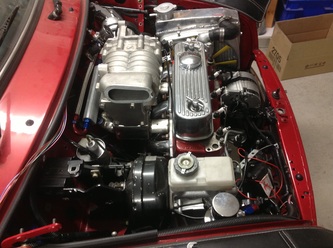
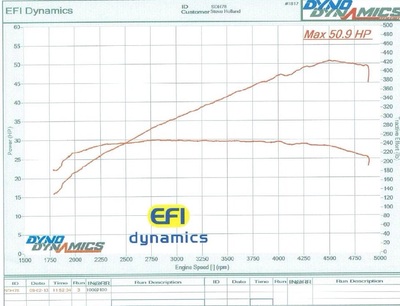
So I have decided to supercharge my Mini SPI but before I start I put my beast on the dyno for a base run.
The specs on this engine before any of my modifications are as follows:1275cc with 50Bhp at the flywheel
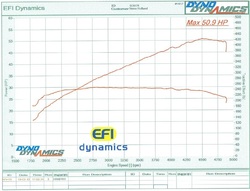
As you can see from the below results, it was pushed out 50.9hp at the wheels. (roughly 65 - 70hp at the flywheel)
I was pretty happy with the result but looking forward to doing it again after the supercharger goes on.
50.9Hp at the wheels
So here is what I think I will need:
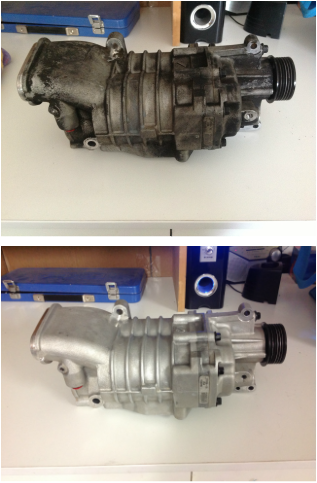
- Eaton M45 supercharger from a BMW Mini - Already purchased.
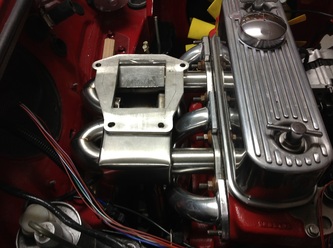
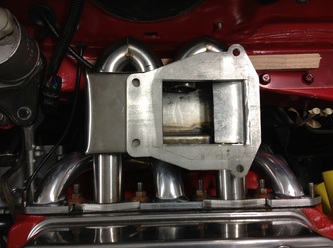
- Custom made inlet manifold
- Autronics engine management system
- Replace the distributor with a coil pack which will run off the Autronics EMS
- Throttle body - To be decided
- Fuel pressure regulator
- Mini MPI pulleys for crankshaft, water pump, alternator & A/C compressor
- Poly V belt to drive all
And some patience. (not good with this one)
12/2/13
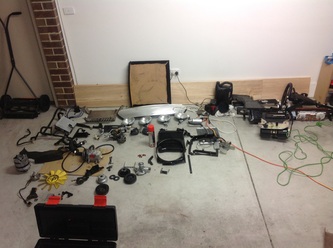
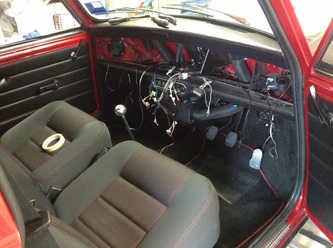
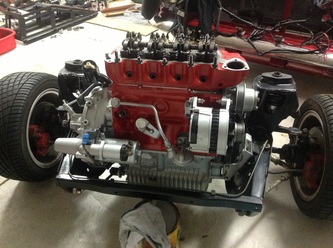
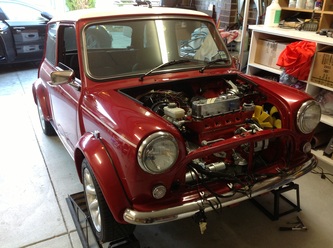
So got stuck into stripping her down last weekend. (3/3/2013). I removed all the A/C from both the engine bay and behind the dash. This is going to create a lot of room in both areas which i am looking forward to.
Most of the parts in the below photo are not going back in.
Most of the parts in the below photo are not going back in.
Some other items that I have purchased lately are:
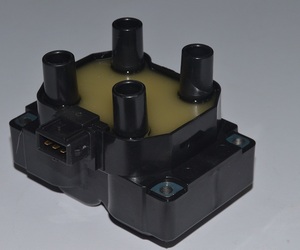
- Coil pack to replace the SPI distributor & coil
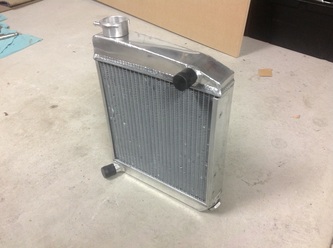
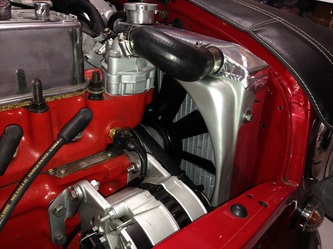
- New 2 core Aluminium radiator
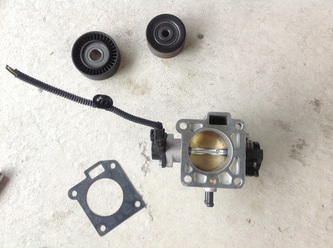
- Throttle body from a Kia Rio with a 52mm diameter opening
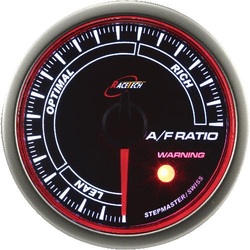
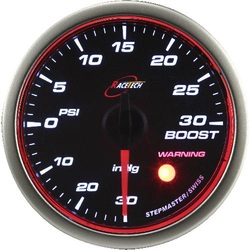
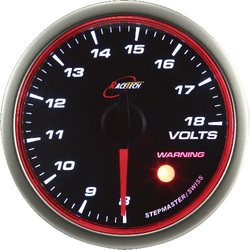
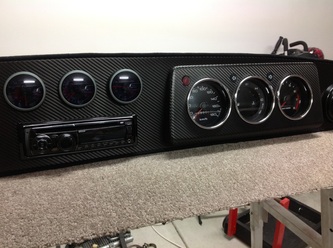
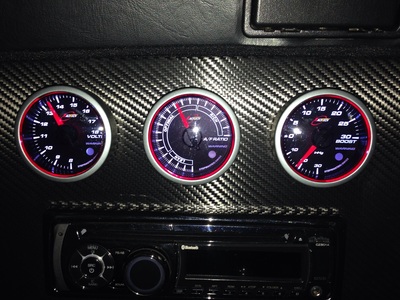
- Three 52mm guages for the dash above the radio.
- 10 LED globes to replace the dash globes. Should brighten the dash up to hopefully match the new smaller gauges
- Carbon fiber vinyl wrap to cover my custom dash that is yet to be made
- MPI crankshaft pulley with poly V
- MPI fan pulley with poly V
12/3/2013
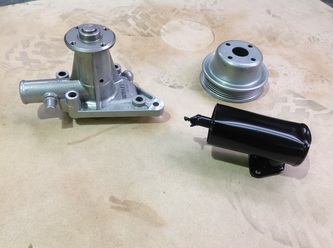
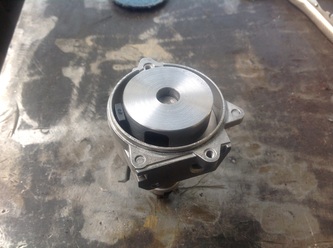
Went round to a friend of mine who is an Automotive engineer. His workshop has quite a few great toys to assist me with this supercharger project. I started by cleaning a heap of brackets along with the water pump and pulley with his water blaster. I love this machine. Brings everything up super clean.
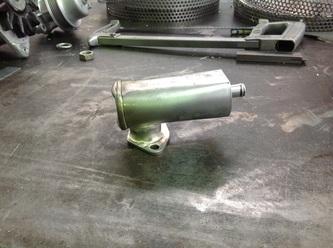
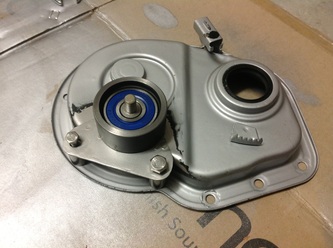
I also cut the breather off the timing case and he welded it onto the blanking cover on the back of the engine which would normally house the fuel pumps in the earlier models. Came up a treat.
Other things I did:
Replaced the V belt pulley on the alternator with a 5PK pulley to match the MPI harmonic balancer
Stripped the fan shroud back to bare metal. Will wait for my new 2 core aluminium radiator to turn up from the UK before trying to match the shine.
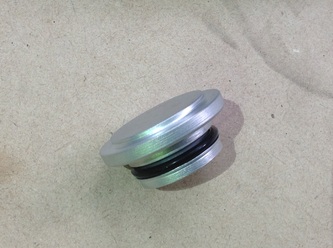
Lathed up a blanking plug for the distributor hole.
16/3/13
The Beast has always had a bit of an oil leak from the clutch housing so considering I have gone this far I might as well remove the engine and replace the clutch and oil seal. A new 3 pc clutch kit is on order from Mini Spares in the UK ( clutch plate, pressure plate and bearing)
I will be getting the fly wheel machined and lightened a little too. Depending on what the Autronics ECU is capable of I may need to add a tooth for the crack sensor as it is currently 36-2. Most run 36-1 and some ECU's don't work with 36-2. Will see what happens.
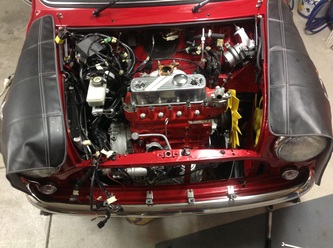
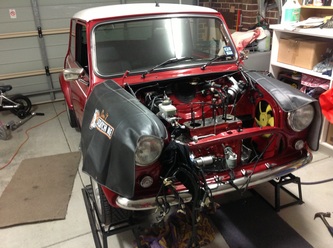
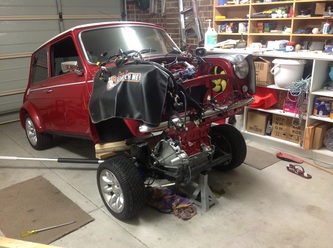
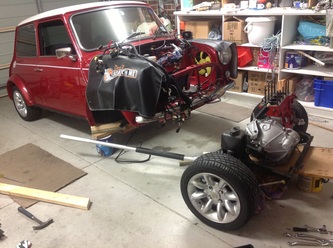
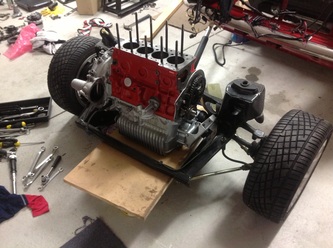
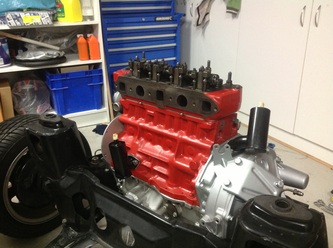
Below are photos of the engine removal by lifting the car up and wheeling the engine out from underneath.
26/3/13
Been a bit of a slow month. Busy travelling with work so little has been done on the Mini.
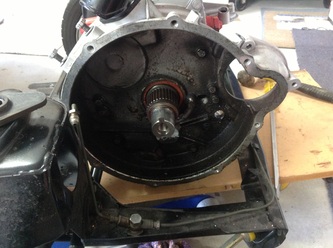
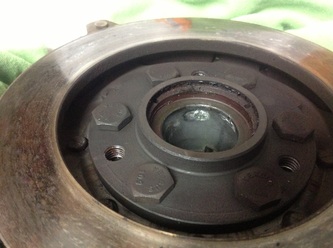
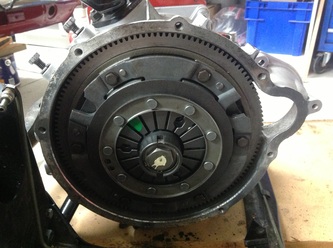
Since late March I have removed the clutch, machined the flywheel, chanced the primary gear seal and refitted the clutch. There seemed to be some fretting on the crankshaft so had to clean it up a little before refitting the clutch.
Since late March I have removed the clutch, machined the flywheel, chanced the primary gear seal and refitted the clutch. There seemed to be some fretting on the crankshaft so had to clean it up a little before refitting the clutch.
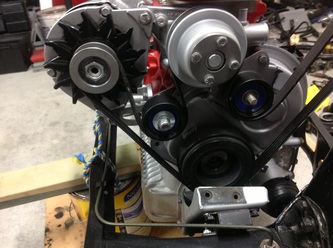
I have also changed the water pump, alternator and harmonic balancer pulleys to run one continuous multi V belt (5PK).
I purchased a Cometic head gasket which is a multi layer steel gasket to assist with reducing the compression ratio from 9.5:1 to 8.43:1
So head is now back on and engine is fixed back into the subframe ready to start working on the custom inlet manifold.
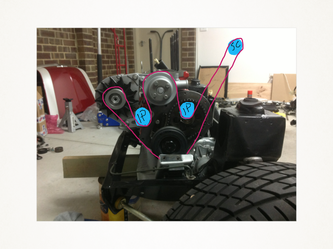
This weekend I plan on making two idler pulley brackets for the continuous belt. One where the alternator attaches to the the block and the other on the timing case.
7/5/13
I have been fitting in some jobs in between my busy work and life schedule. Have finished modifying the timing cover and painted it. Just need to fit it now.
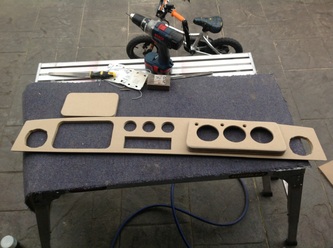
I started making the custom dash out of MDF. All cut out and primed. Next is to vinyl wrap it.
I have also pulled out the rest of the engine bay wiring so it is ready for the new wiring and engine management system.
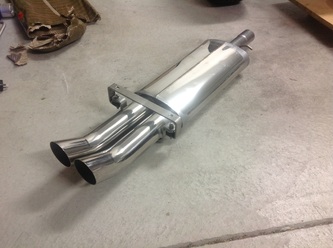
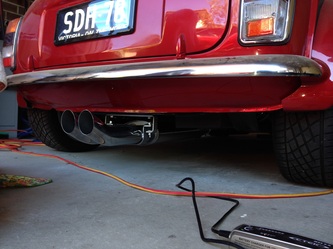
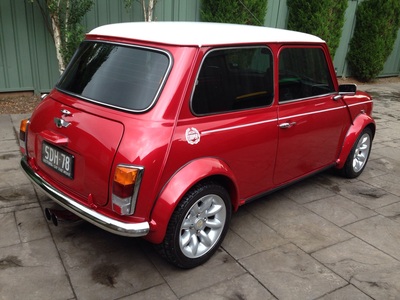
The Sportex exhaust that was fitted didn't really sound to crash hot. Very tinny so I purchased a Playmini rear muffler with 2 1/2" dual DTM outlets. From what I have heard on you tube and general comments on the web it should have a deeper note to it. Fingers crossed.
20/6/13
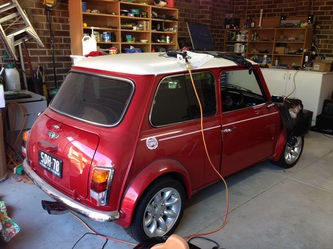
Its back on four wheels!!
Engine is back in and brake lines blead. With the engine back in I can work on the manifold size and dimensions. All suspension and sub frame re connected to the body too.
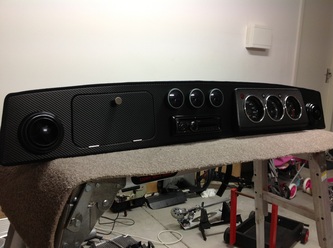
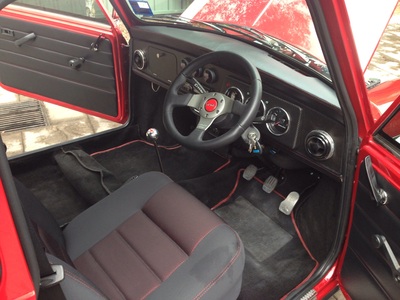
My dashboard is also finished. Carbon fibre wrapped with some new guages.
8/7/2013
Engine is back in and brake lines blead. With the engine back in I can work on the manifold size and dimensions. All suspension and sub frame re connected to the body too.
My dashboard is also finished. Carbon fibre wrapped with some new guages.
8/7/2013
The Autronics ECU and wiring has been installed now. Just need to complete the inlet and intake pipe before wiring in the last of the sensors.
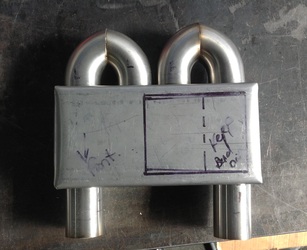
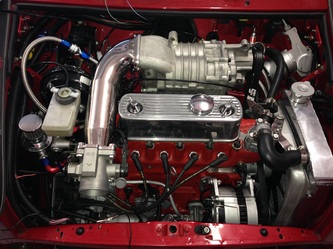
Below is the current status of the inlet manifold. It is being Tig welded as I type this. Will get it back tomorrow to see if it all lines up correctly before welding the flanges onto the ends. Also need to make the injector bosses, cut the hole in the top and welding the top plate on. It's a bit slow when I can't do the welding myself.
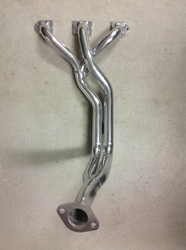
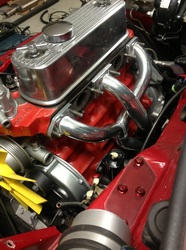
On a positive note I got my exhaust manifold ceramic coated. Sensational job. should reduce the heat in the engine bay by about 60% apparently. It does look good if anything.
27/8/13
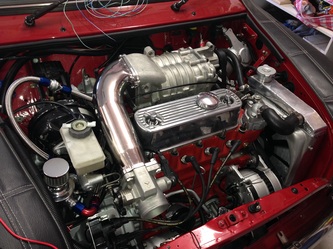
update.....all of the ,manifold and intake has been welded up along with the injector bosses.
Fuel rail has been cut and drilled to suit.
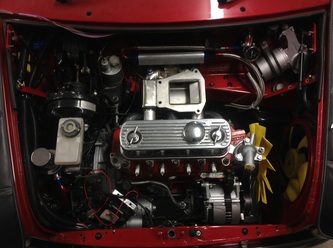
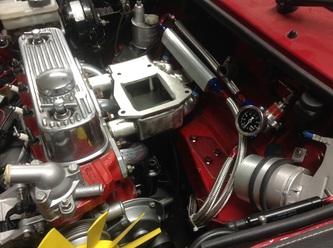
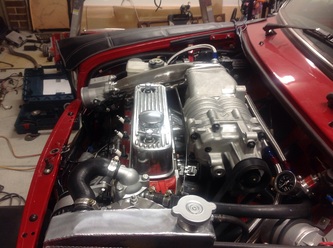
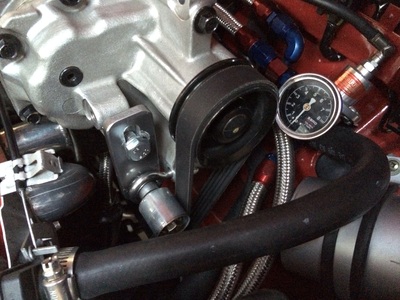
Fuel lines and adapters have also been fitted. A test fit of the manifold, charger, radiator, fuel lines and drive belt has been done and all looks good.
All stainless steel now requires sanding and polishing before fitting permanently.
23/9/13
Fuel rail has been cut and drilled to suit.
Fuel lines and adapters have also been fitted. A test fit of the manifold, charger, radiator, fuel lines and drive belt has been done and all looks good.
All stainless steel now requires sanding and polishing before fitting permanently.
23/9/13
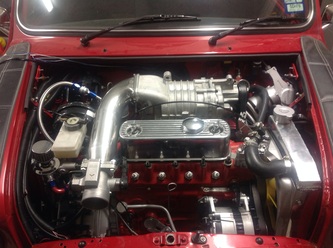
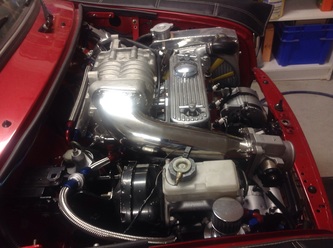
All the stainless has now been polished and fitted to the car. Looks great. Radiator and hoses are in (hoses needed modifying) along with the fuel lines, oil breathers and vacuum line for the brake booster. Vacuum and breather hoses are braided so look very smart.
It has been established that because of the 36-2 teeth configuration of the crank sensor I will need a cam sync sensor to find TDC. So I have decided to modifyithe old distributor to do the job.
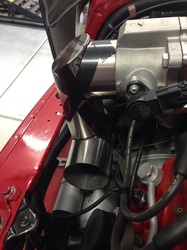
Soon I will have the challenge of finding a very slim air filter to fit between the throttle body and front of the car.
16/10/13
Today was a good day. Got a few things done and feel that I am not far away from starting the engine.
The exhaust and new Playmini muffler was fitted. The cam sync sensor was wired up, the accelerator cable bracket was made and the brake fluid reservoir was re wired. I also made my own set of ignition leads and am pretty happy with the result.
20/10/2013
The exhaust and new Playmini muffler was fitted. The cam sync sensor was wired up, the accelerator cable bracket was made and the brake fluid reservoir was re wired. I also made my own set of ignition leads and am pretty happy with the result.
20/10/2013
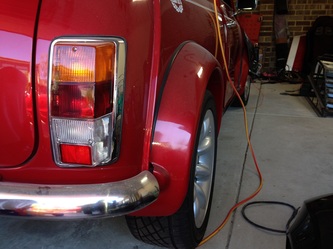
Fitted 10mm wheel spacers to the rear wheels to bring them out a little. It always looked a bit ordinary being in so far.
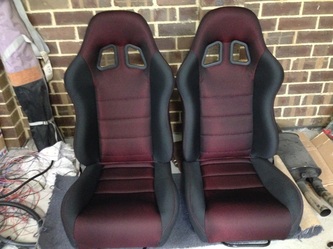
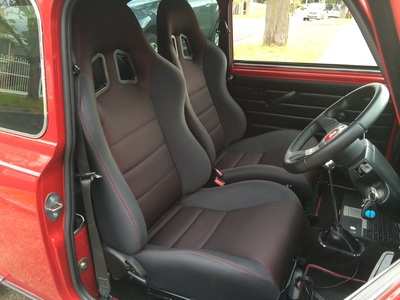
I bought some race seats and had them recovered to match the rest of the interior. Look awesome in my opinion.
Didn't really like the yellow radiator fan so painted both that and the thermo fan black. much nicer.
Car is back on four wheels and the ECU configuring has begun. Plenty of learning to do here. So far no luck with timing and ignition.
Standby to Standby.
31/10/13
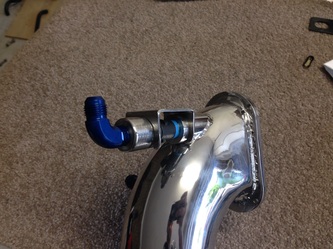
I had it running the other day and even drove it round the block....slowly. Nowhere near drivable yet. The inlet air temps were around 80 degrees at a stand still in the garage while tuning as the charger was generating some heat. I have therefore had to at a third injector before the charger to assist with cooling the rotors. Some photos below.
Now only need to make the intake pipe for the air filter and good to Dyno.
Dyno is booked for the week staring 7th Dec.
hopefully a good Xmas present coming my way
18/11/13
Now only need to make the intake pipe for the air filter and good to Dyno.
Dyno is booked for the week staring 7th Dec.
hopefully a good Xmas present coming my way
18/11/13
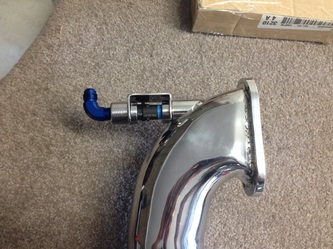
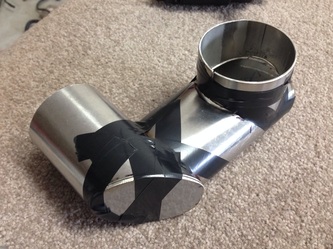
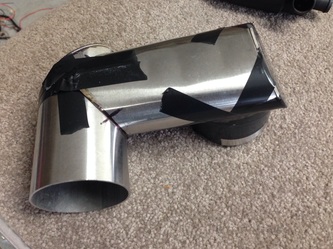
Today I started making the air filter pipe out of stainless. I was a bit undecided as to how to make it but piece by piece it ended up being ok. I will get it Tig welded tomorrow then I will polish it next week. Hopefully that will complete the engine side of things. Updated photos of the finished pipe to come.
23/11/13
23/11/13
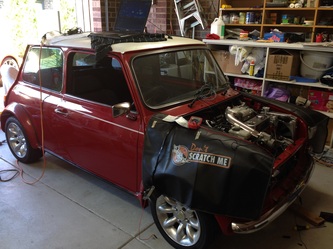
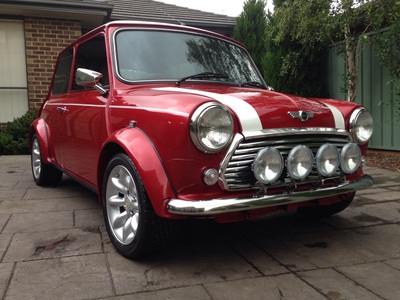
Grille, lights and bonnet back on. Will be polishing the air filter intake today to finally complete the supercharger project. It runs but does need tuning. looking for a good driving car with more low down torque. Not after big numbers.
30/11/13
30/11/13
Finally got my mini back from tuning after 8 long weeks. The Christmas break and a couple of weeks of hot weather delayed tuning.
As you can see from the above work I did I originally designed the manifold so the two main injectors run the car and the third injector before the supercharger was just for cooling the air temp. Unfortunately due to the angle of the two main injectors and their distance from the head it meant that my car would not run well at idle and low revs. The two injectors just sprayed all over the inlet manifold tubes.
Luckily Ian from Autronic assisted and was able to come up with a solution. He ECU had to be updated with SM4 firmware for some additional injection sequences.
Now the third injector is being used for idle and low revs and the main two now coming in at high revs or when boost kicks in. It runs well but does need some fine tuning as we go along. Air temp changes, driving style, vehicle temps etc.
We also established that the original alternator was not charging the battery much ad idle so an new one is required to bring the amps up from 45 to 70 amps.
1/3/14
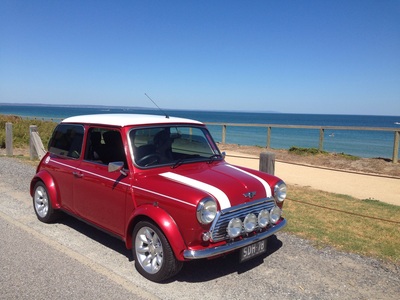
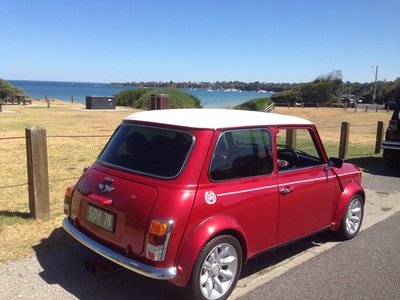
Of course when you get your car back after so long you can't wait to get out and give it a good run. A drive down to the beach was a must as the weather was perfect.
9/3/14
So there have been a few things that needed ironing out since finishing the project.
- Alternator upgrade as it wasn't holding charge
- Squeeling drive belt
- fixing idle
Alternator was upgraded and unfortunately it still wasn't holding charge. Found out the LED globes in the dash were creating havoc as the alternator wasn't getting enough amps from the battery light to kick into gear. Oh well, I guess I won't need another alternator for a while.
The drive belt Squeeling fixed now. I made up a bracket with an idler pulley that acts like a tensioner too. The belt now wraps around the supercharger pulley a lot more and in-turn stops the squeeling.
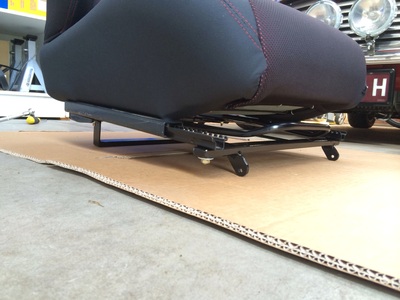
And I finally got round to making the seat mounts for the race style seats. I am wrapped with the end result. I can really feel how the car handles now as I am locked in and there is no sliding around to take away the real G force when cornering.
13/7/14
Finally got around to sending the car back to the dyno for some finer tuning on cold warm up in cold weather and also mixture adjustments now that the belt squealing and alternator has been fixed.
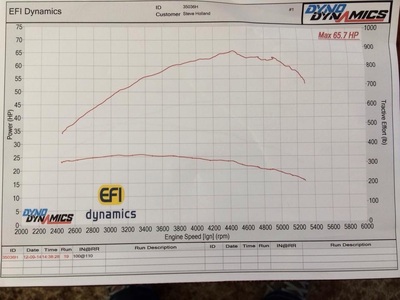
The results on paper aren't anything to brag about but the car drives heaps better and feels stronger under the foot. The torque curve is quite flat and starting up higher too.
Obviously higher Hp is good but I am more focused on the torque.
15/8/14
Before After
50.9Hp at the wheels. 65.7Hp at the wheels. (29% increase without touching the bottom end of the engine)
(Approx 68Hp at the flywheel) (Approx 84Hp at the flywheel)
